
How to select your images in your preview gallery!
Welcome to our easy-to-follow tutorial on selecting images using our Sprout Studio Gallery Systems. Whether you're a client reviewing a photography session or a photographer managing your client galleries, this guide will walk you through the seamless process of making selections online.

-
Start by opening your gallery invitation email {This is usually titled “Your preview gallery is ready!”}.
Click the link in the bottom of the email that says “View Gallery”
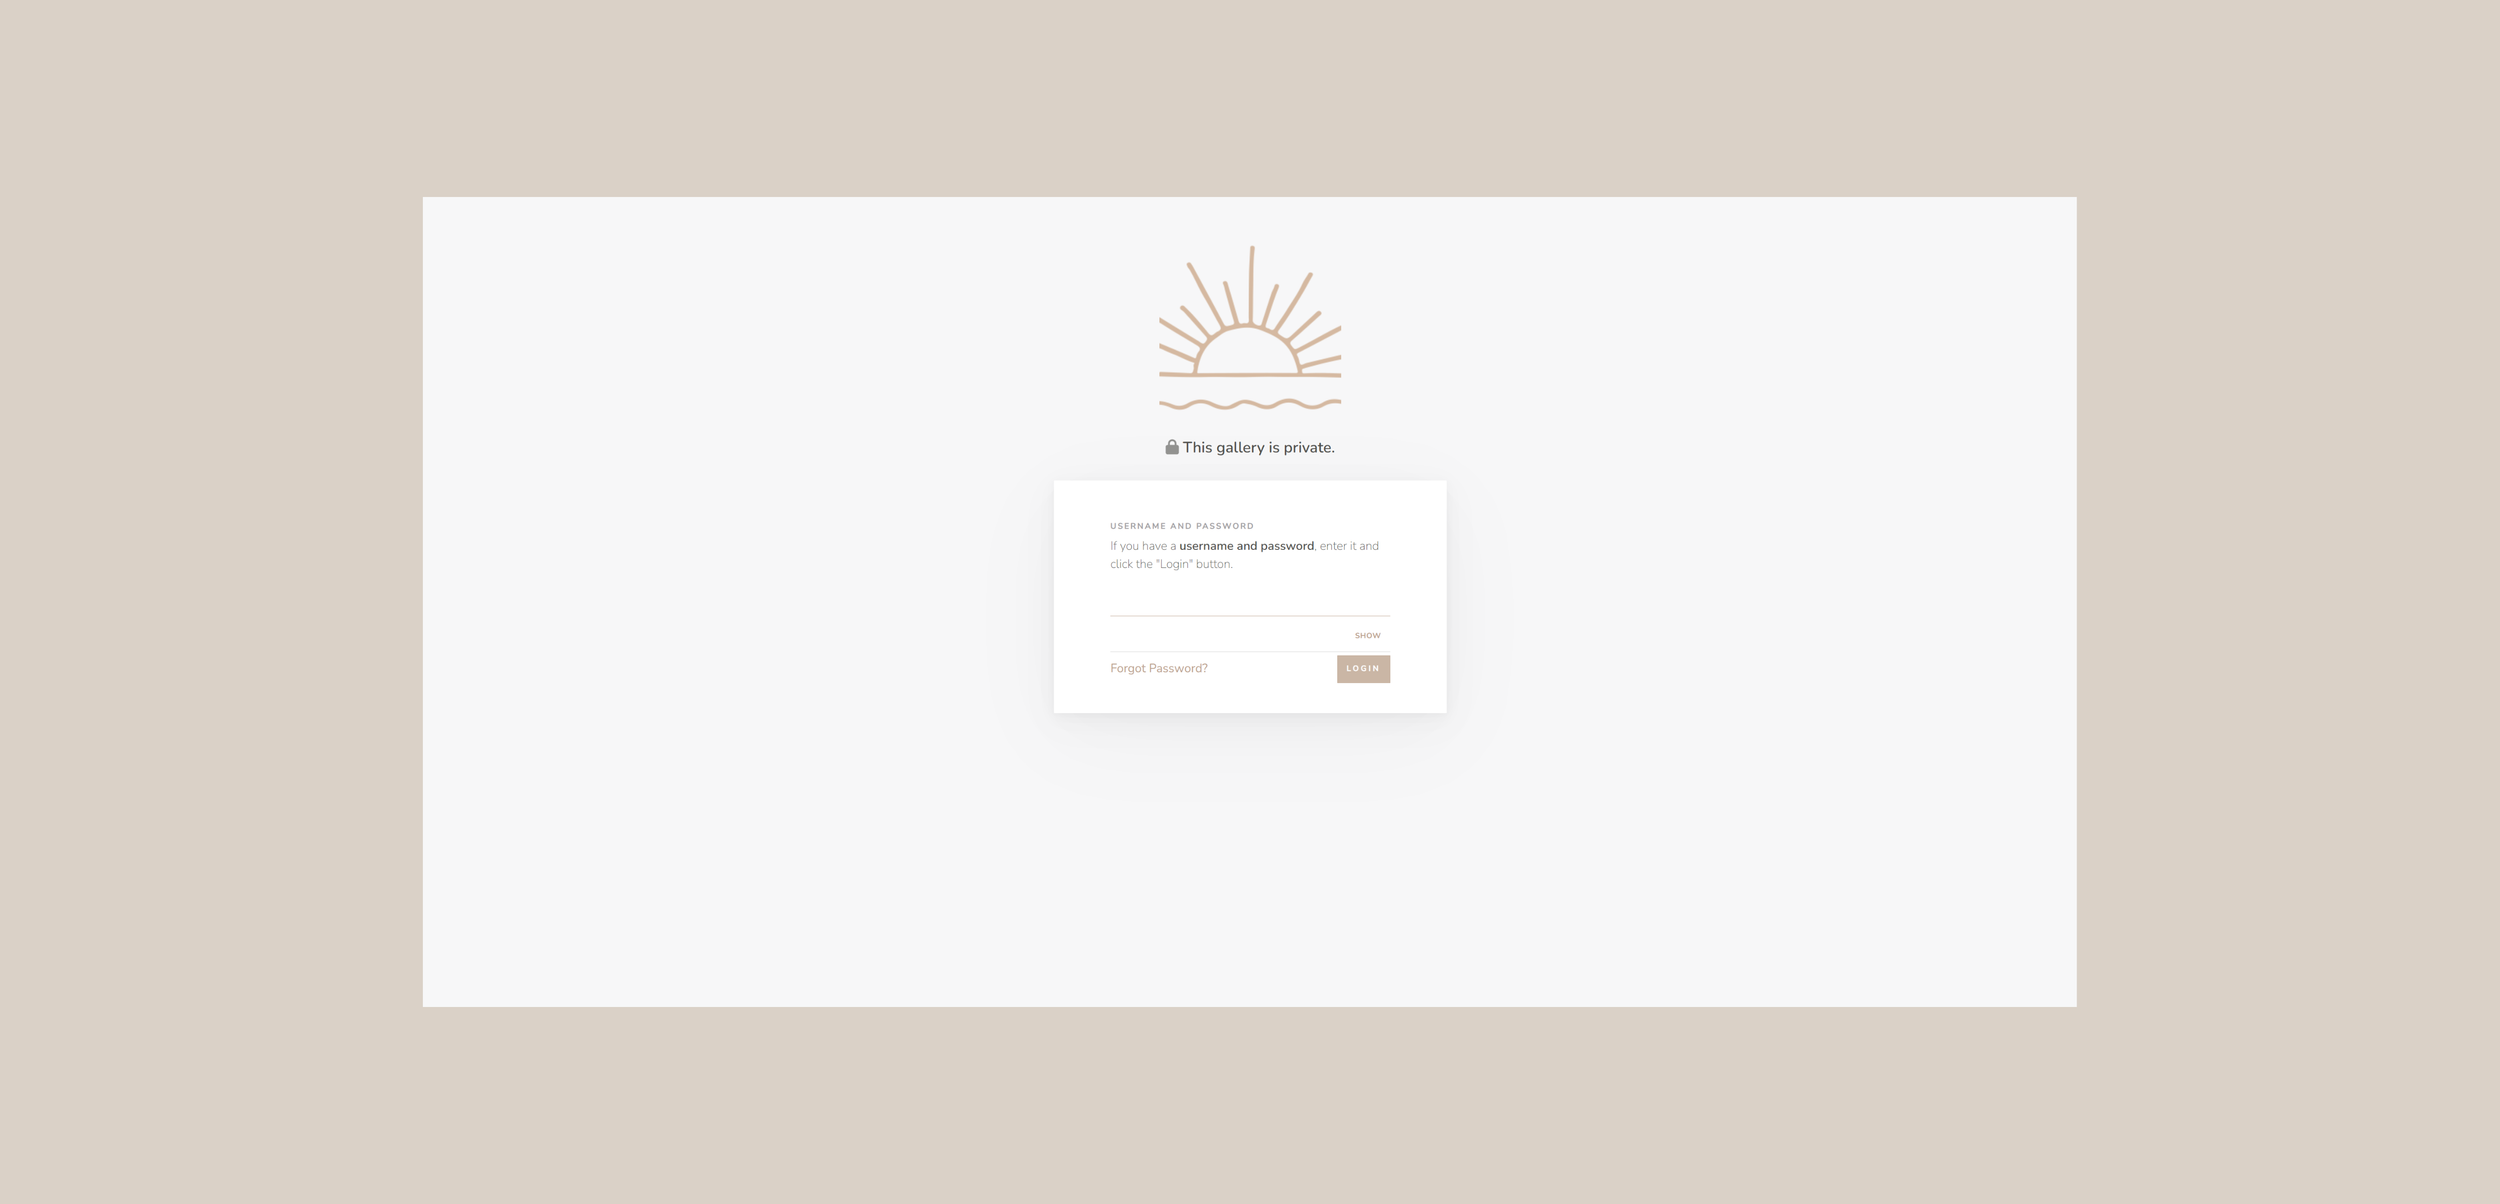
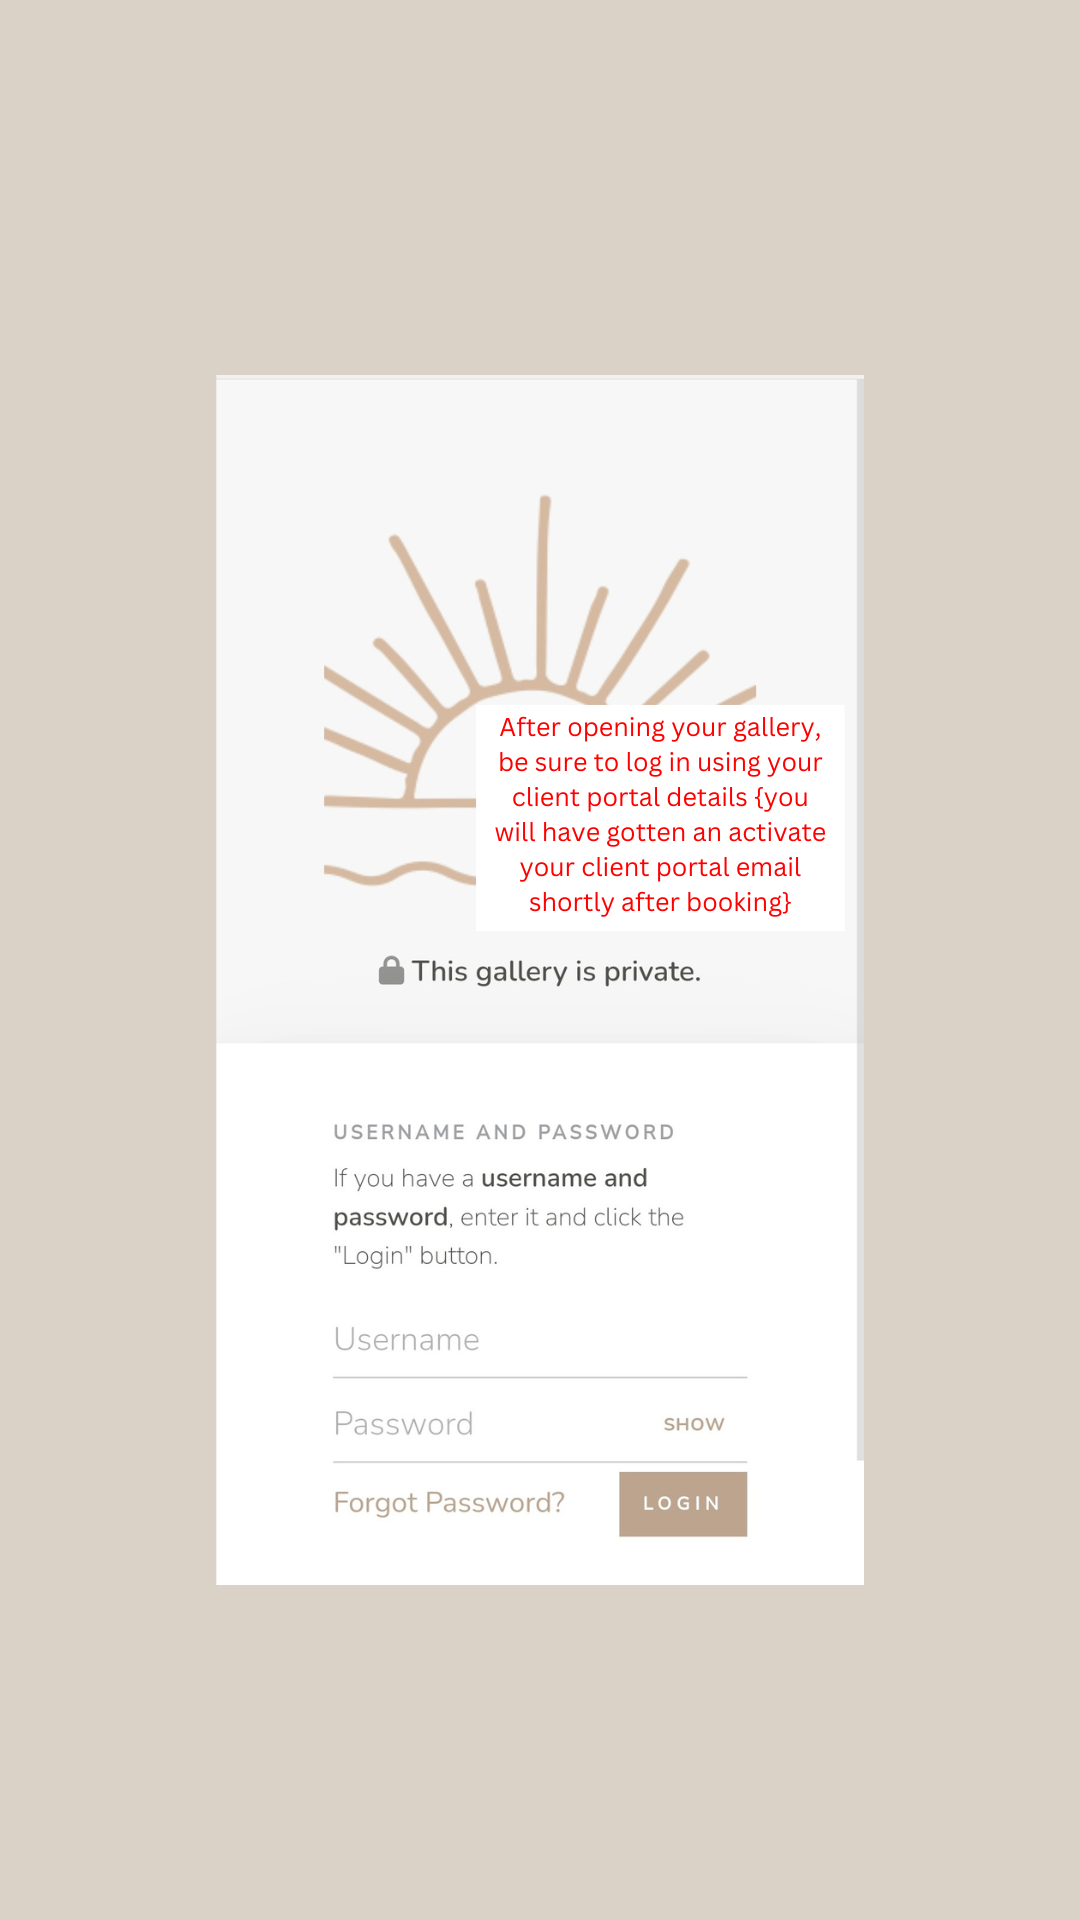
Use your private login details to access your gallery & account.
-
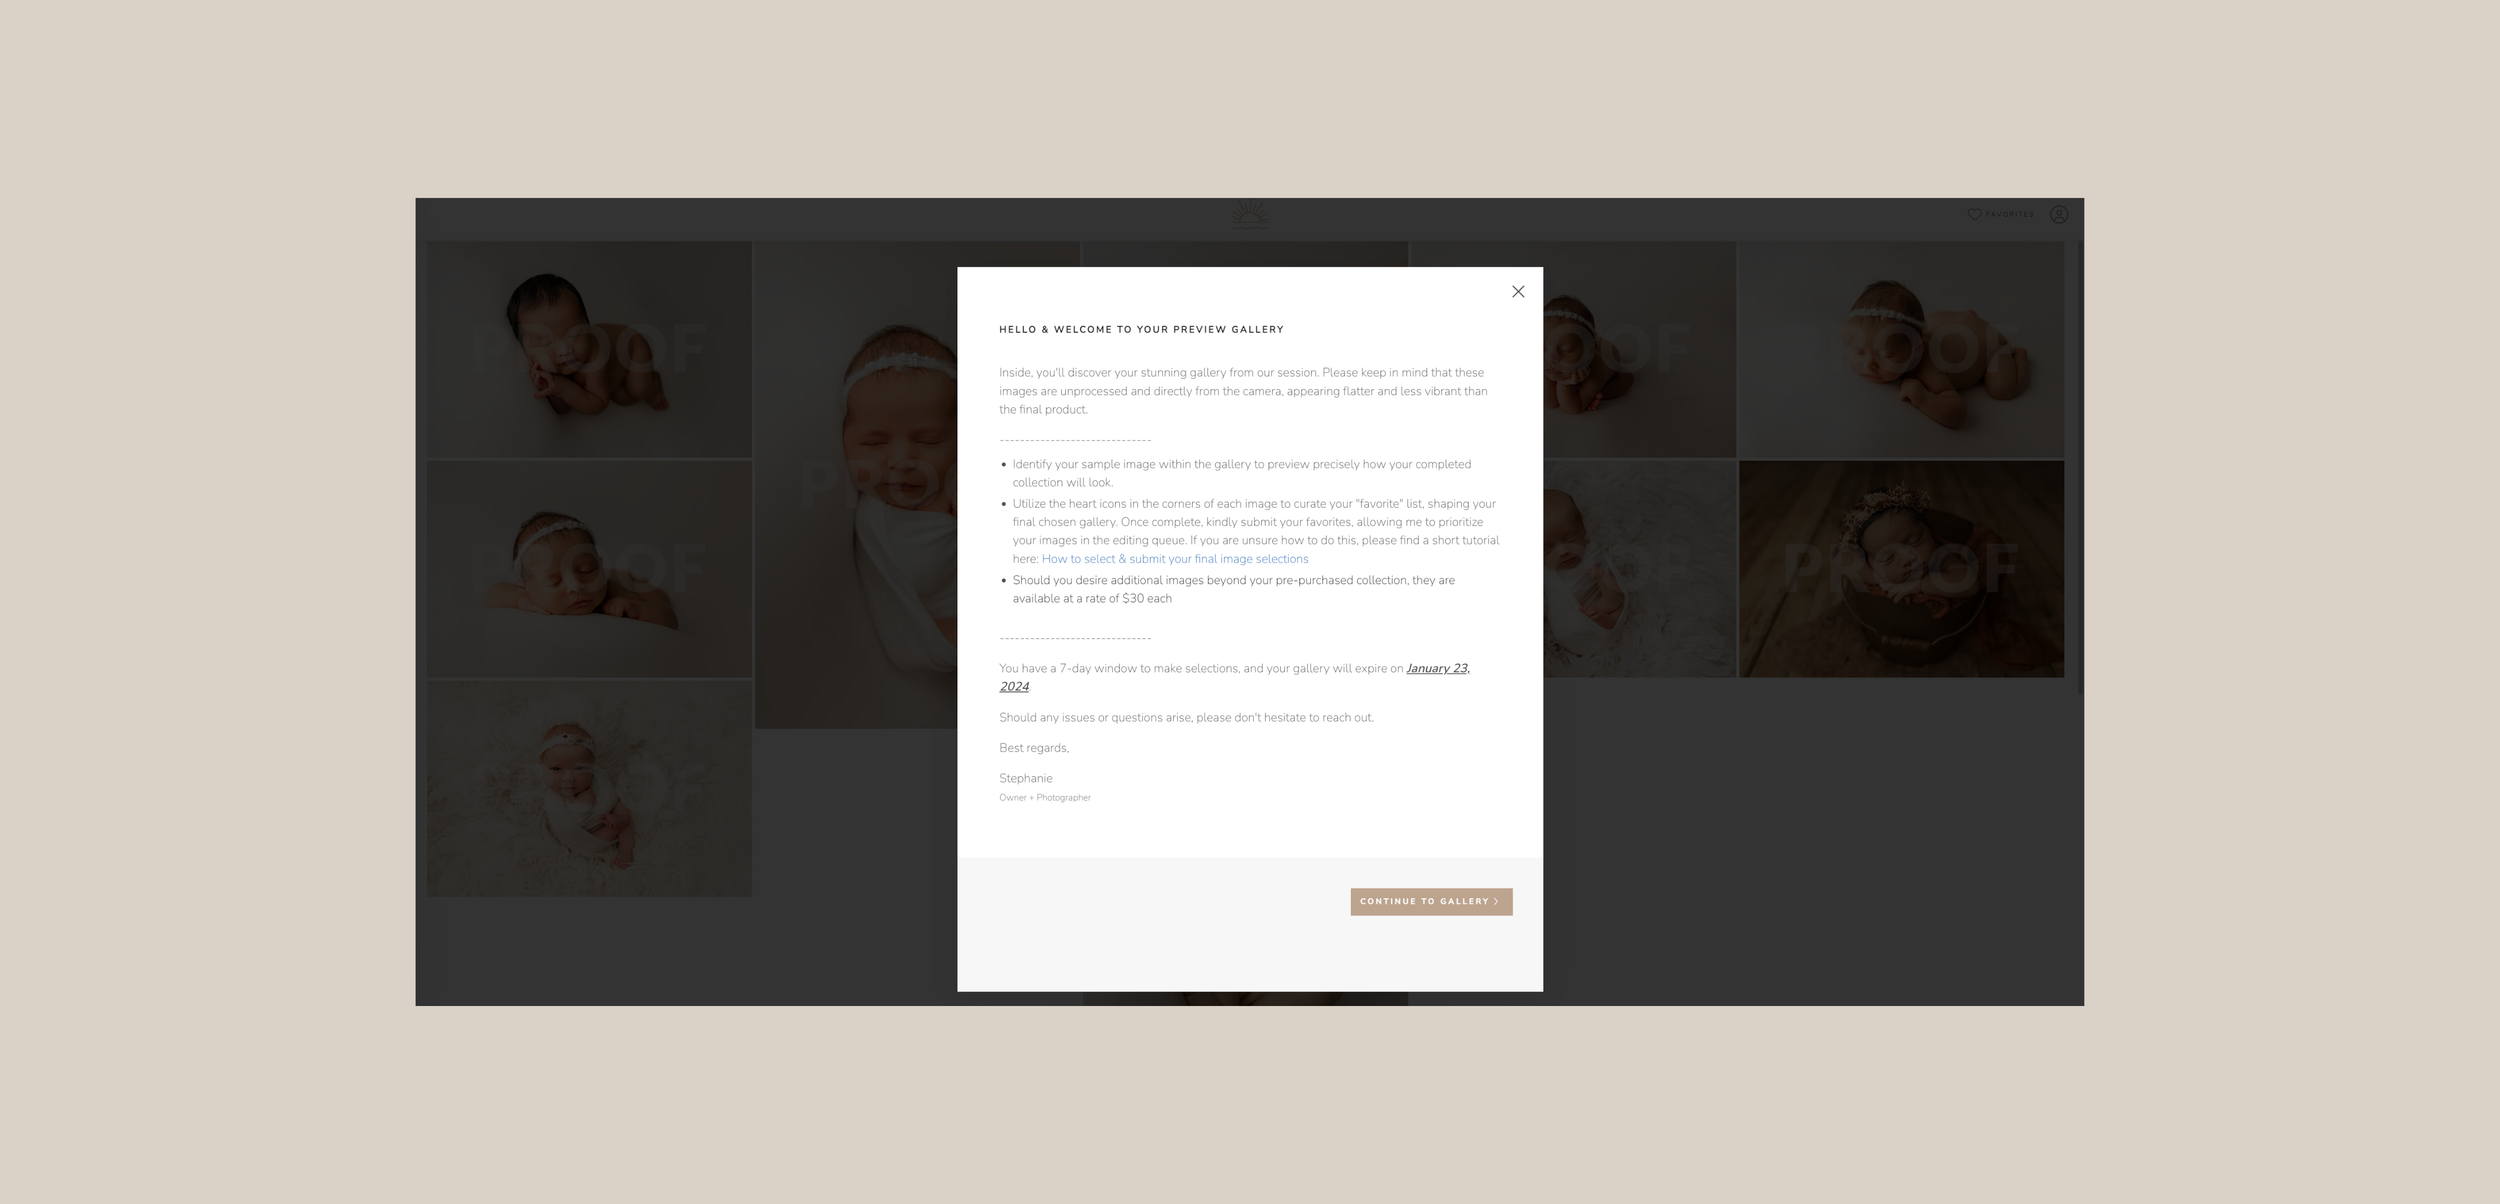
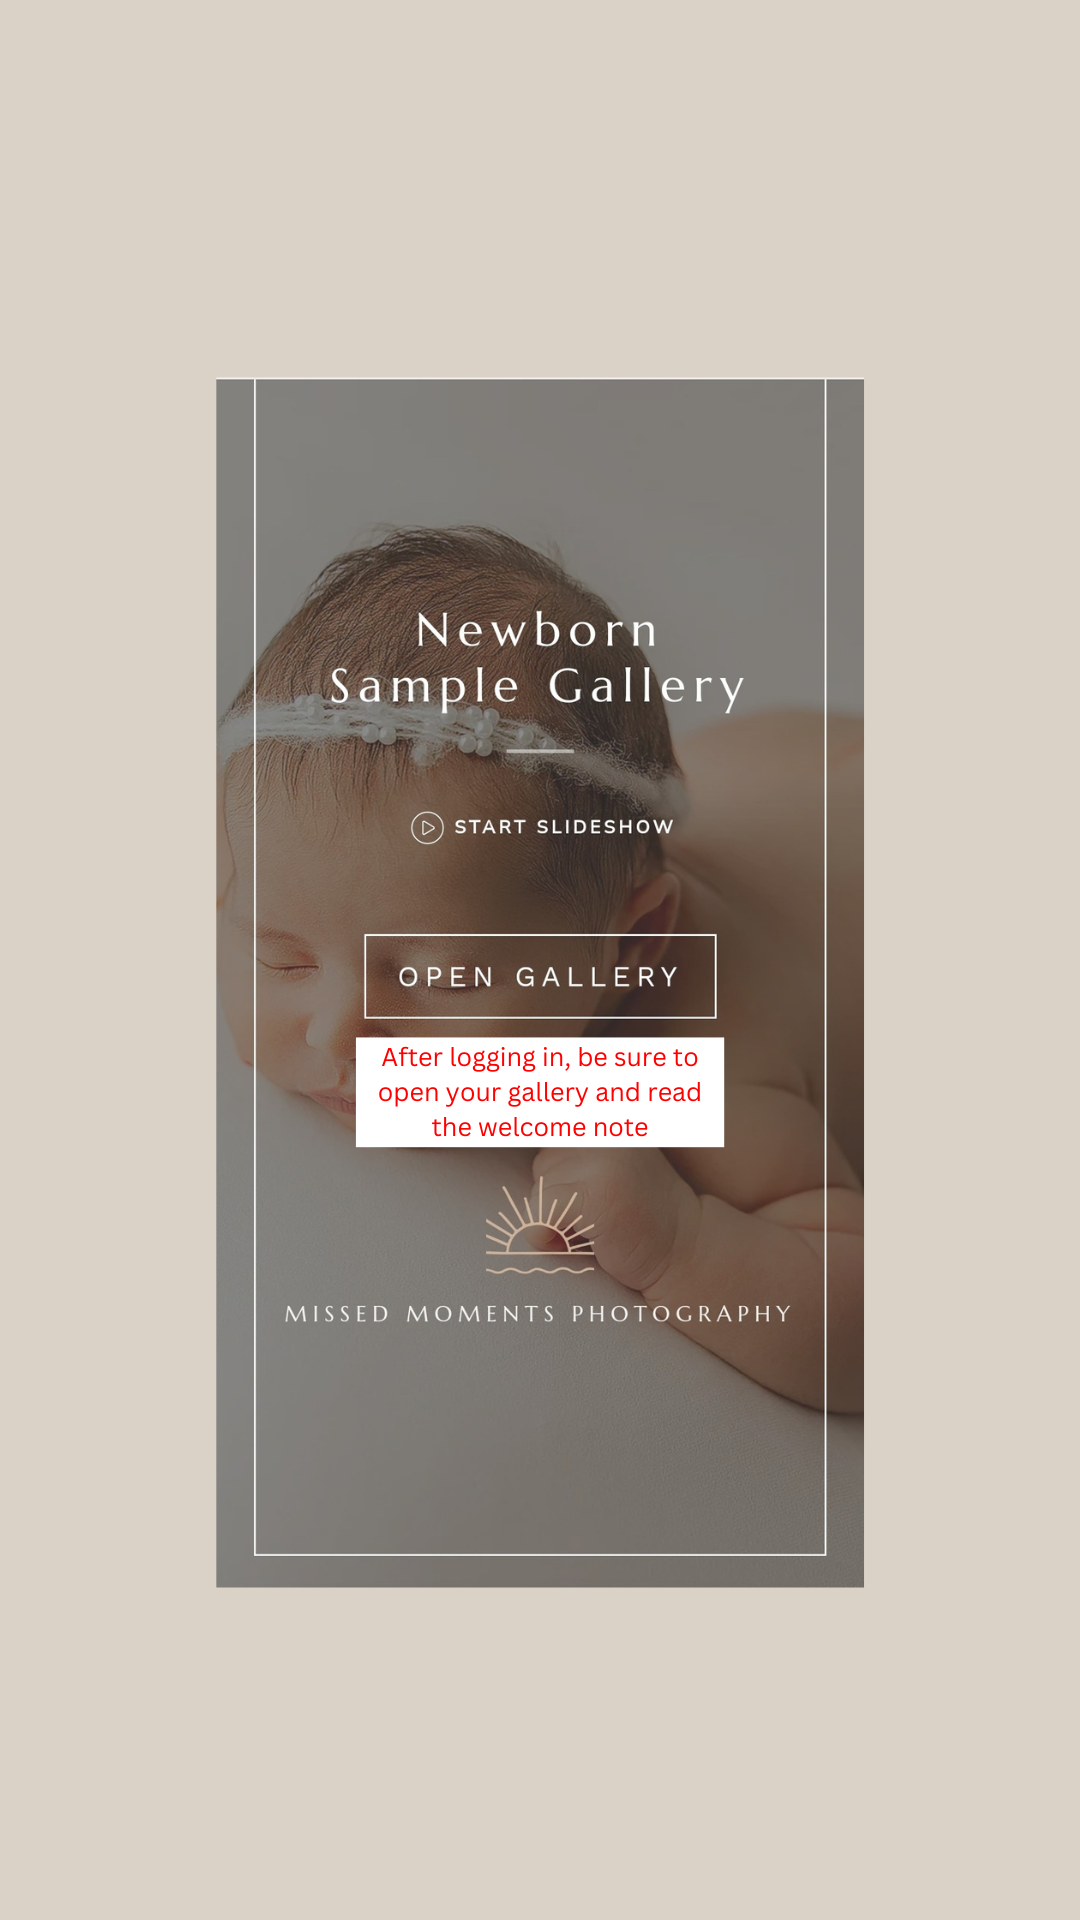
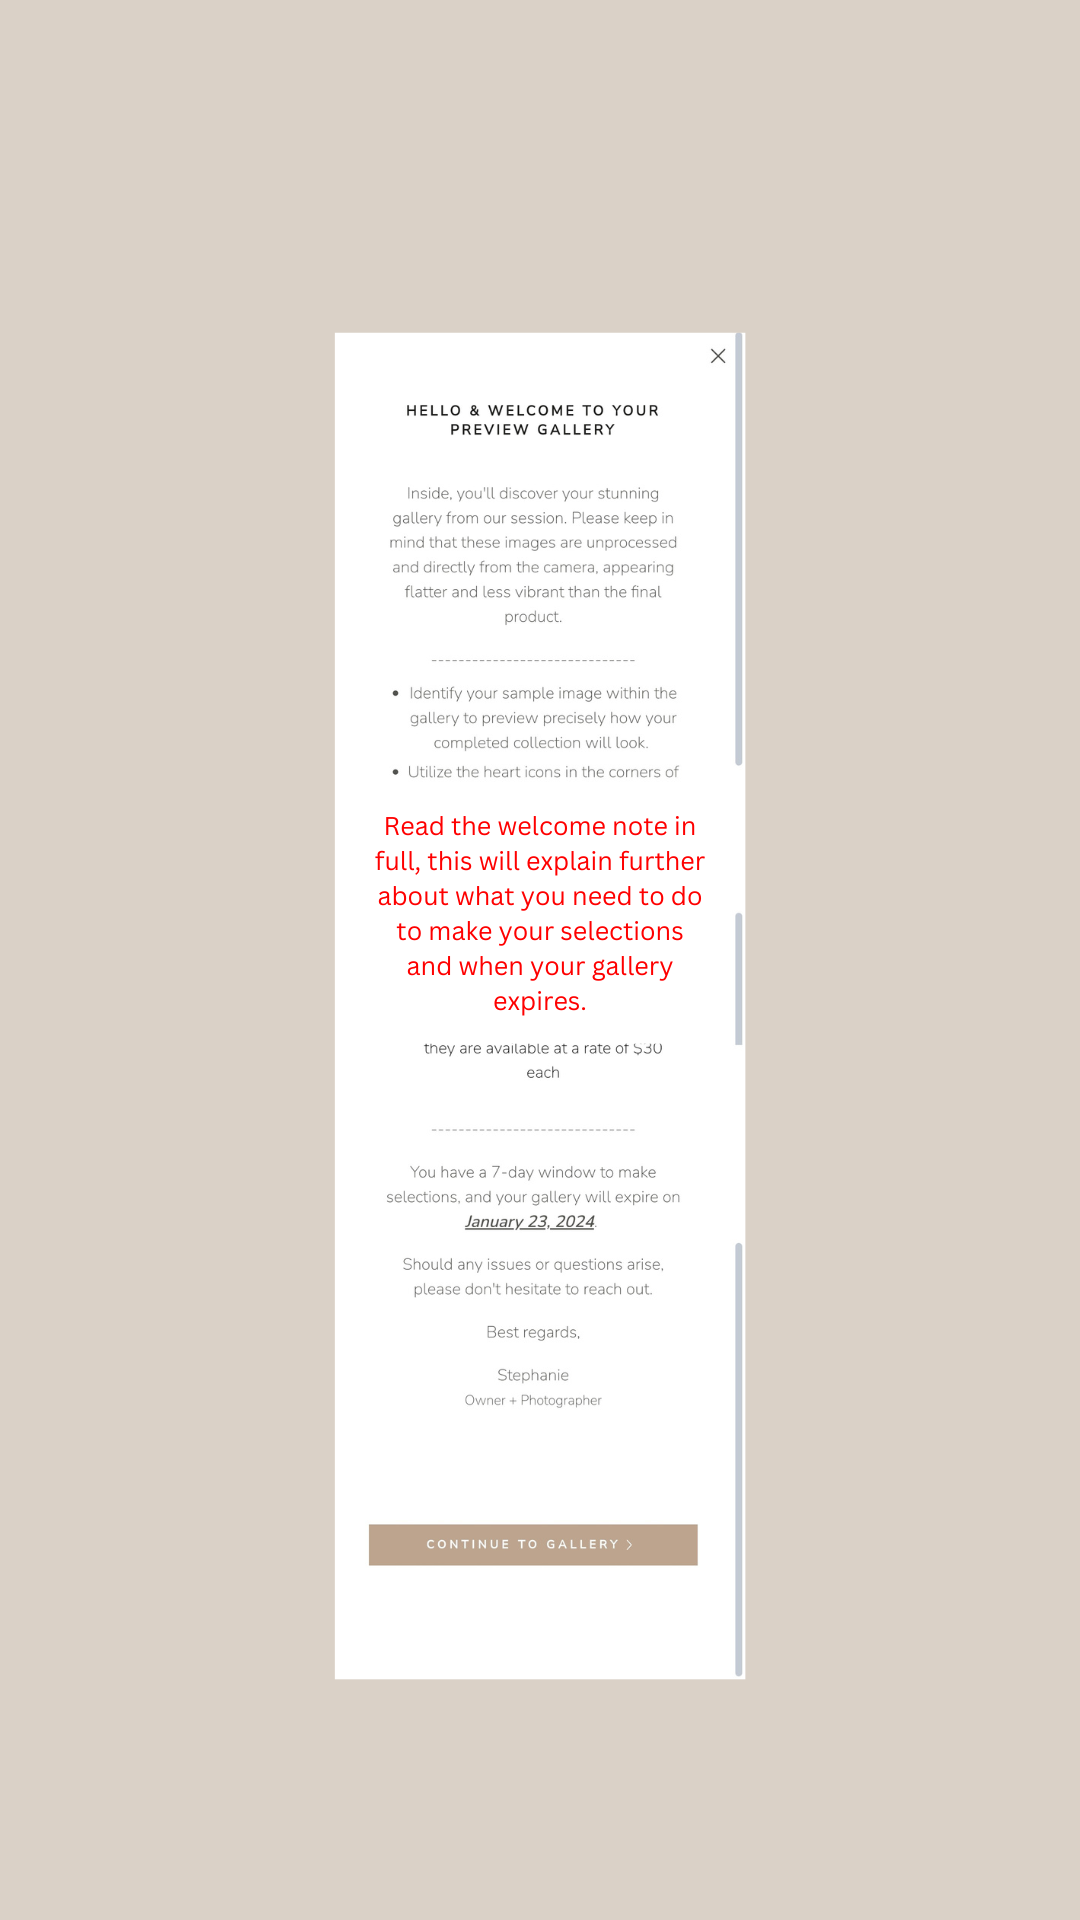
Once in your gallery, click “Enter Gallery” & be sure to read the welcome message, this will give you more information about what to expect and the next steps. {If you're a photographer, don’t forget to customize this to help your clients}
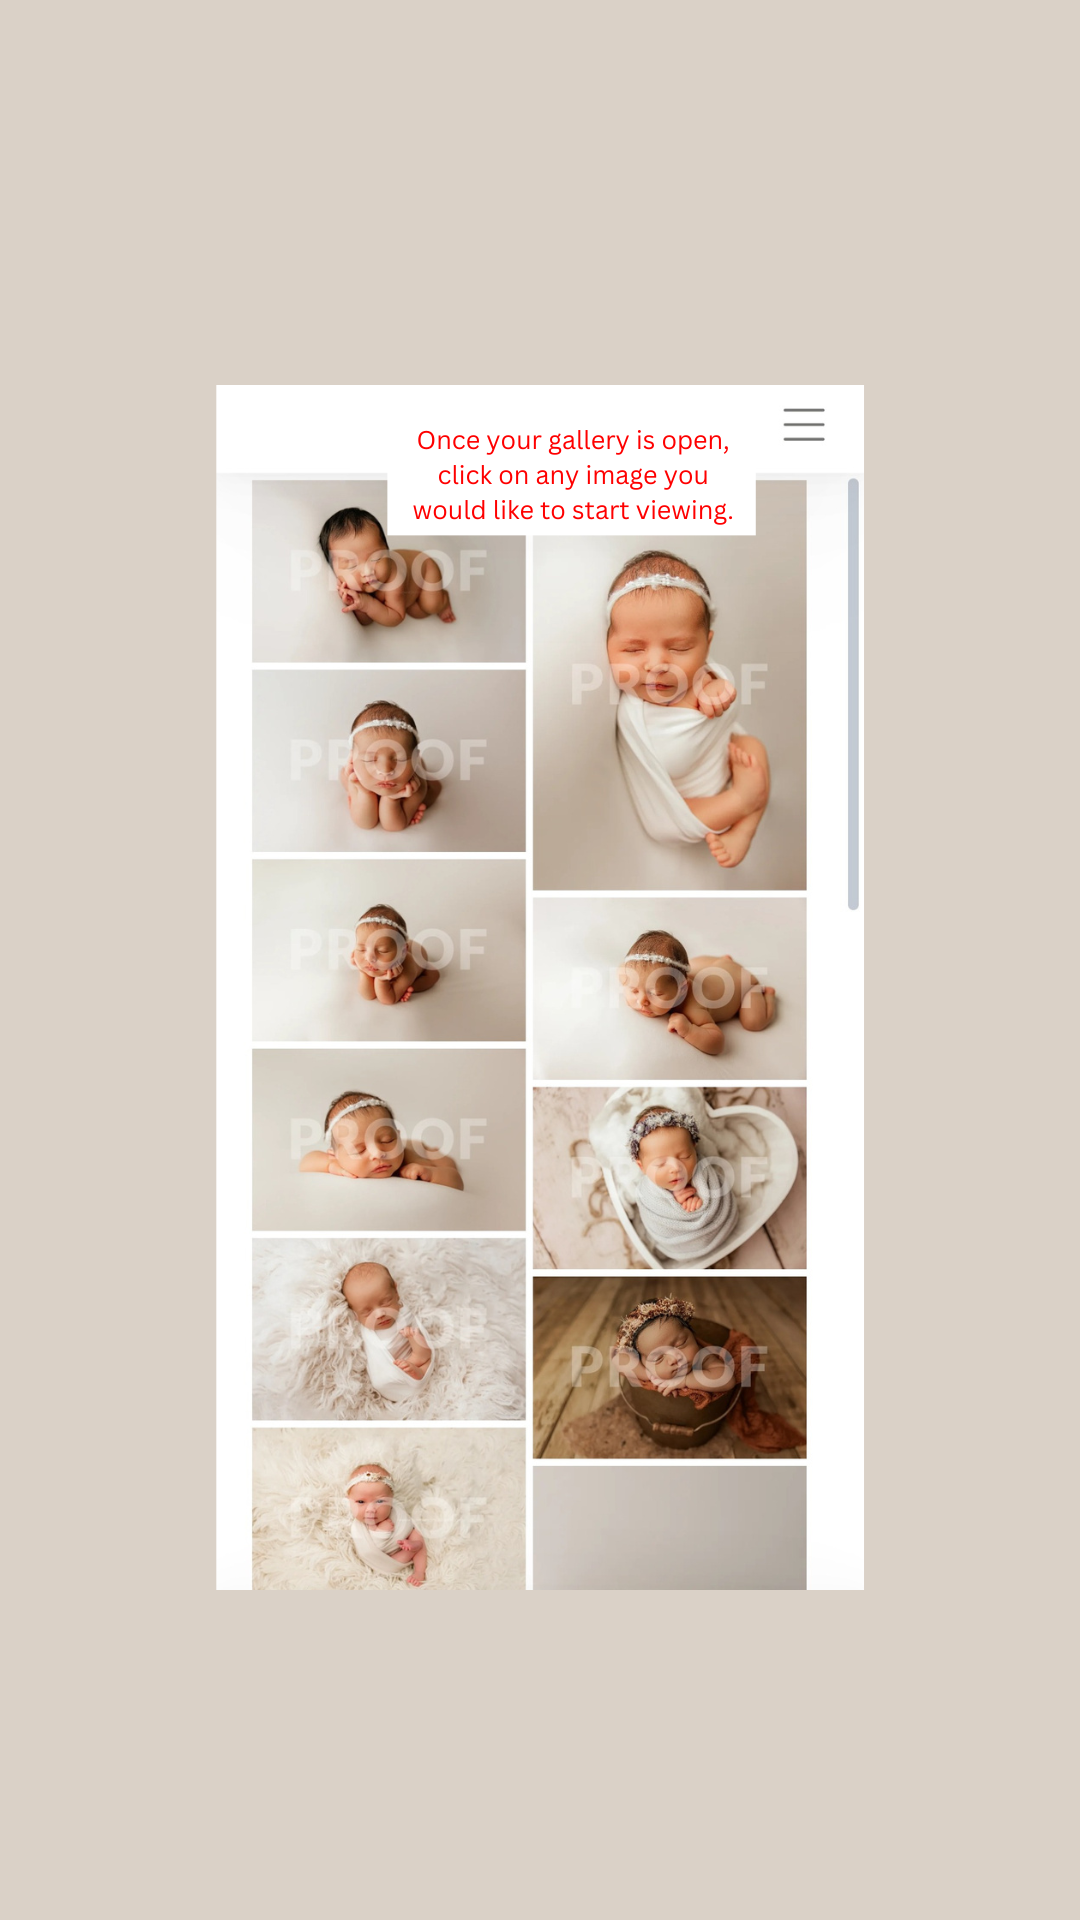
Take a moment to view all the images captured during the session.
-
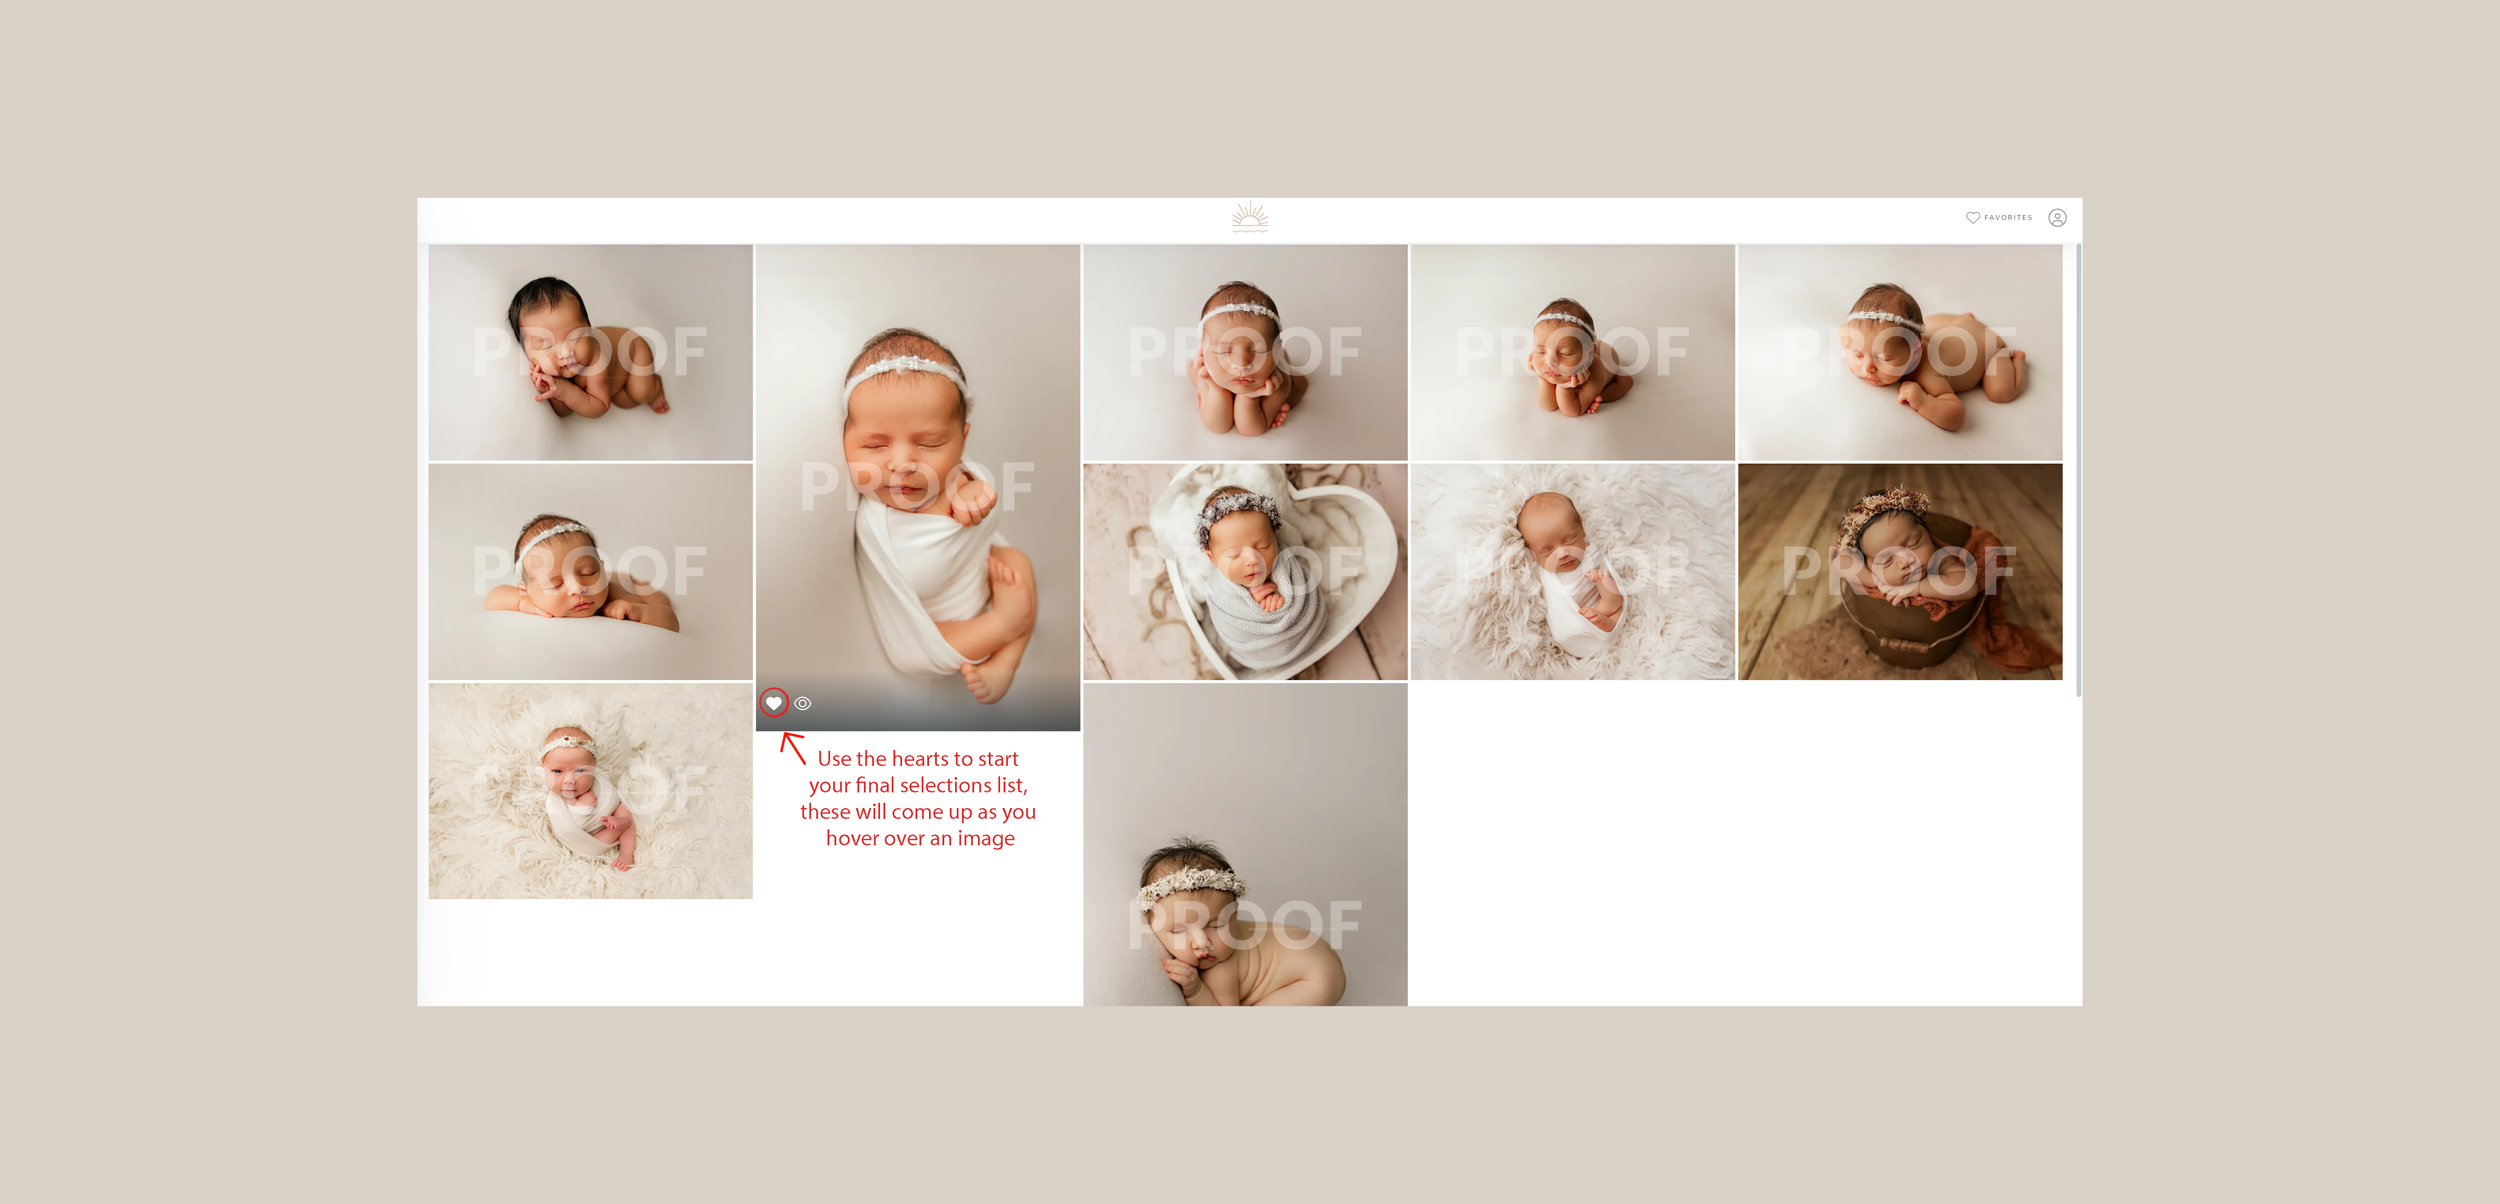
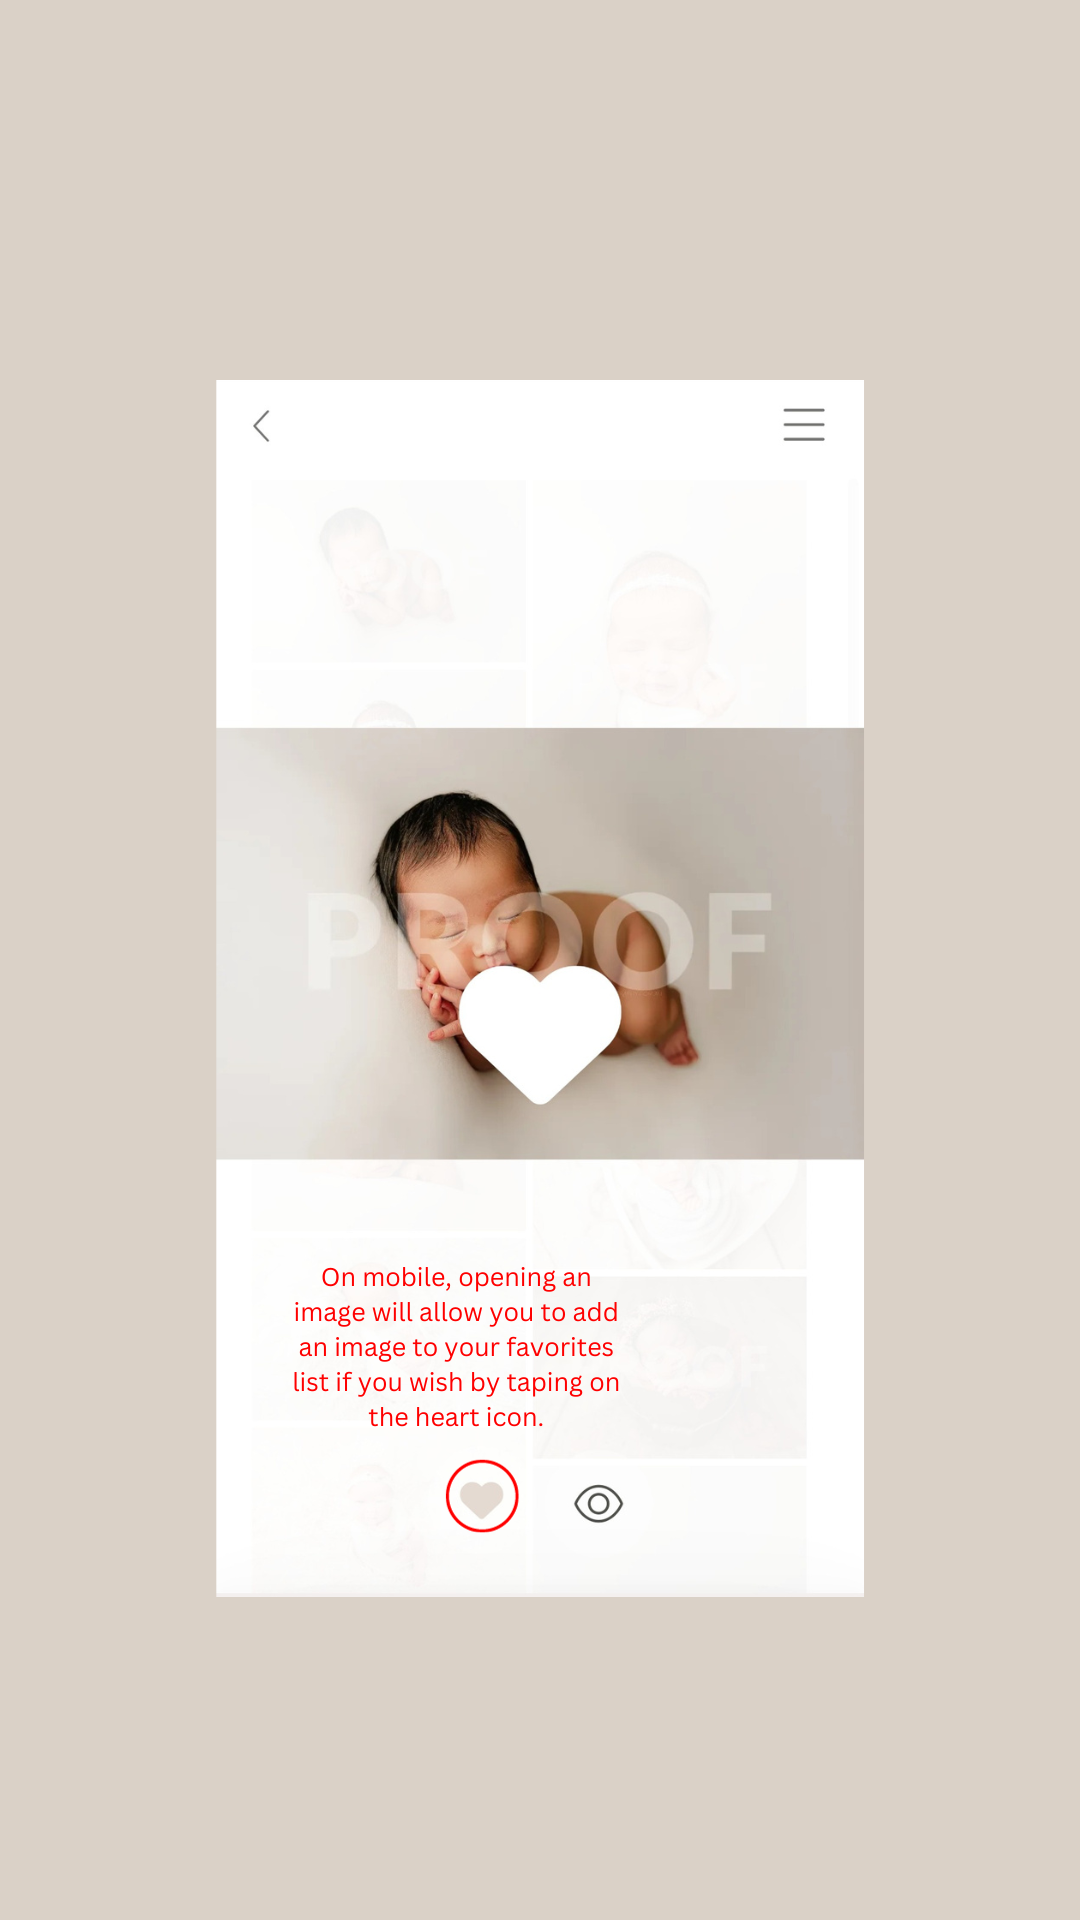
Locate the heart icon in the corner of each image – this is your "favorite" button.
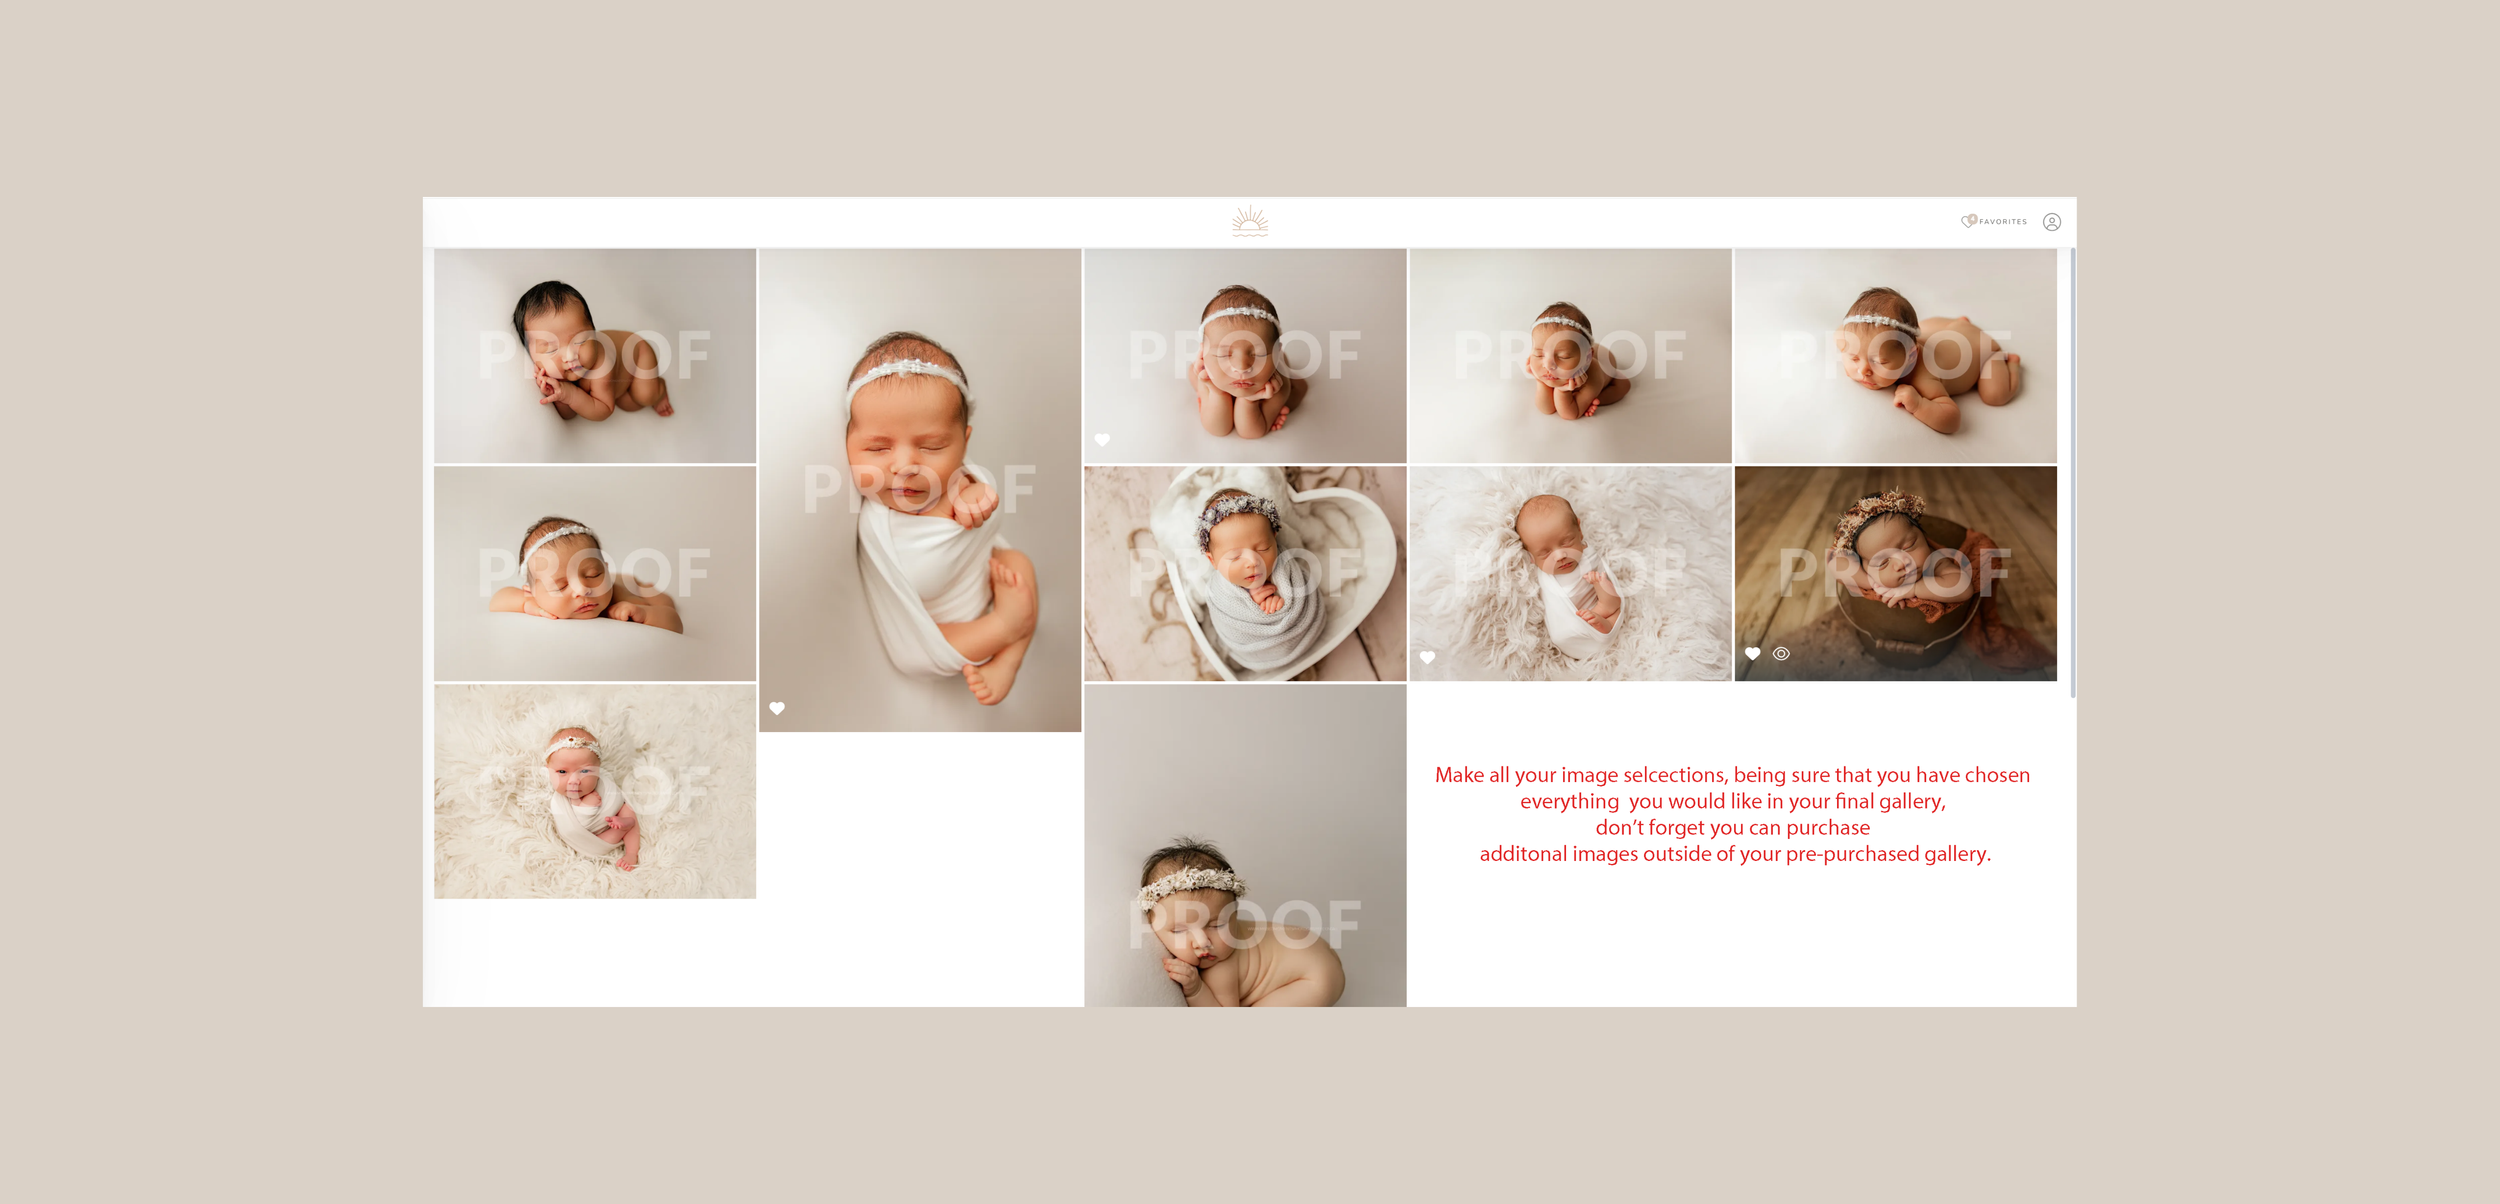
Click on the heart icon for any image you wish to include in your final selection.
-
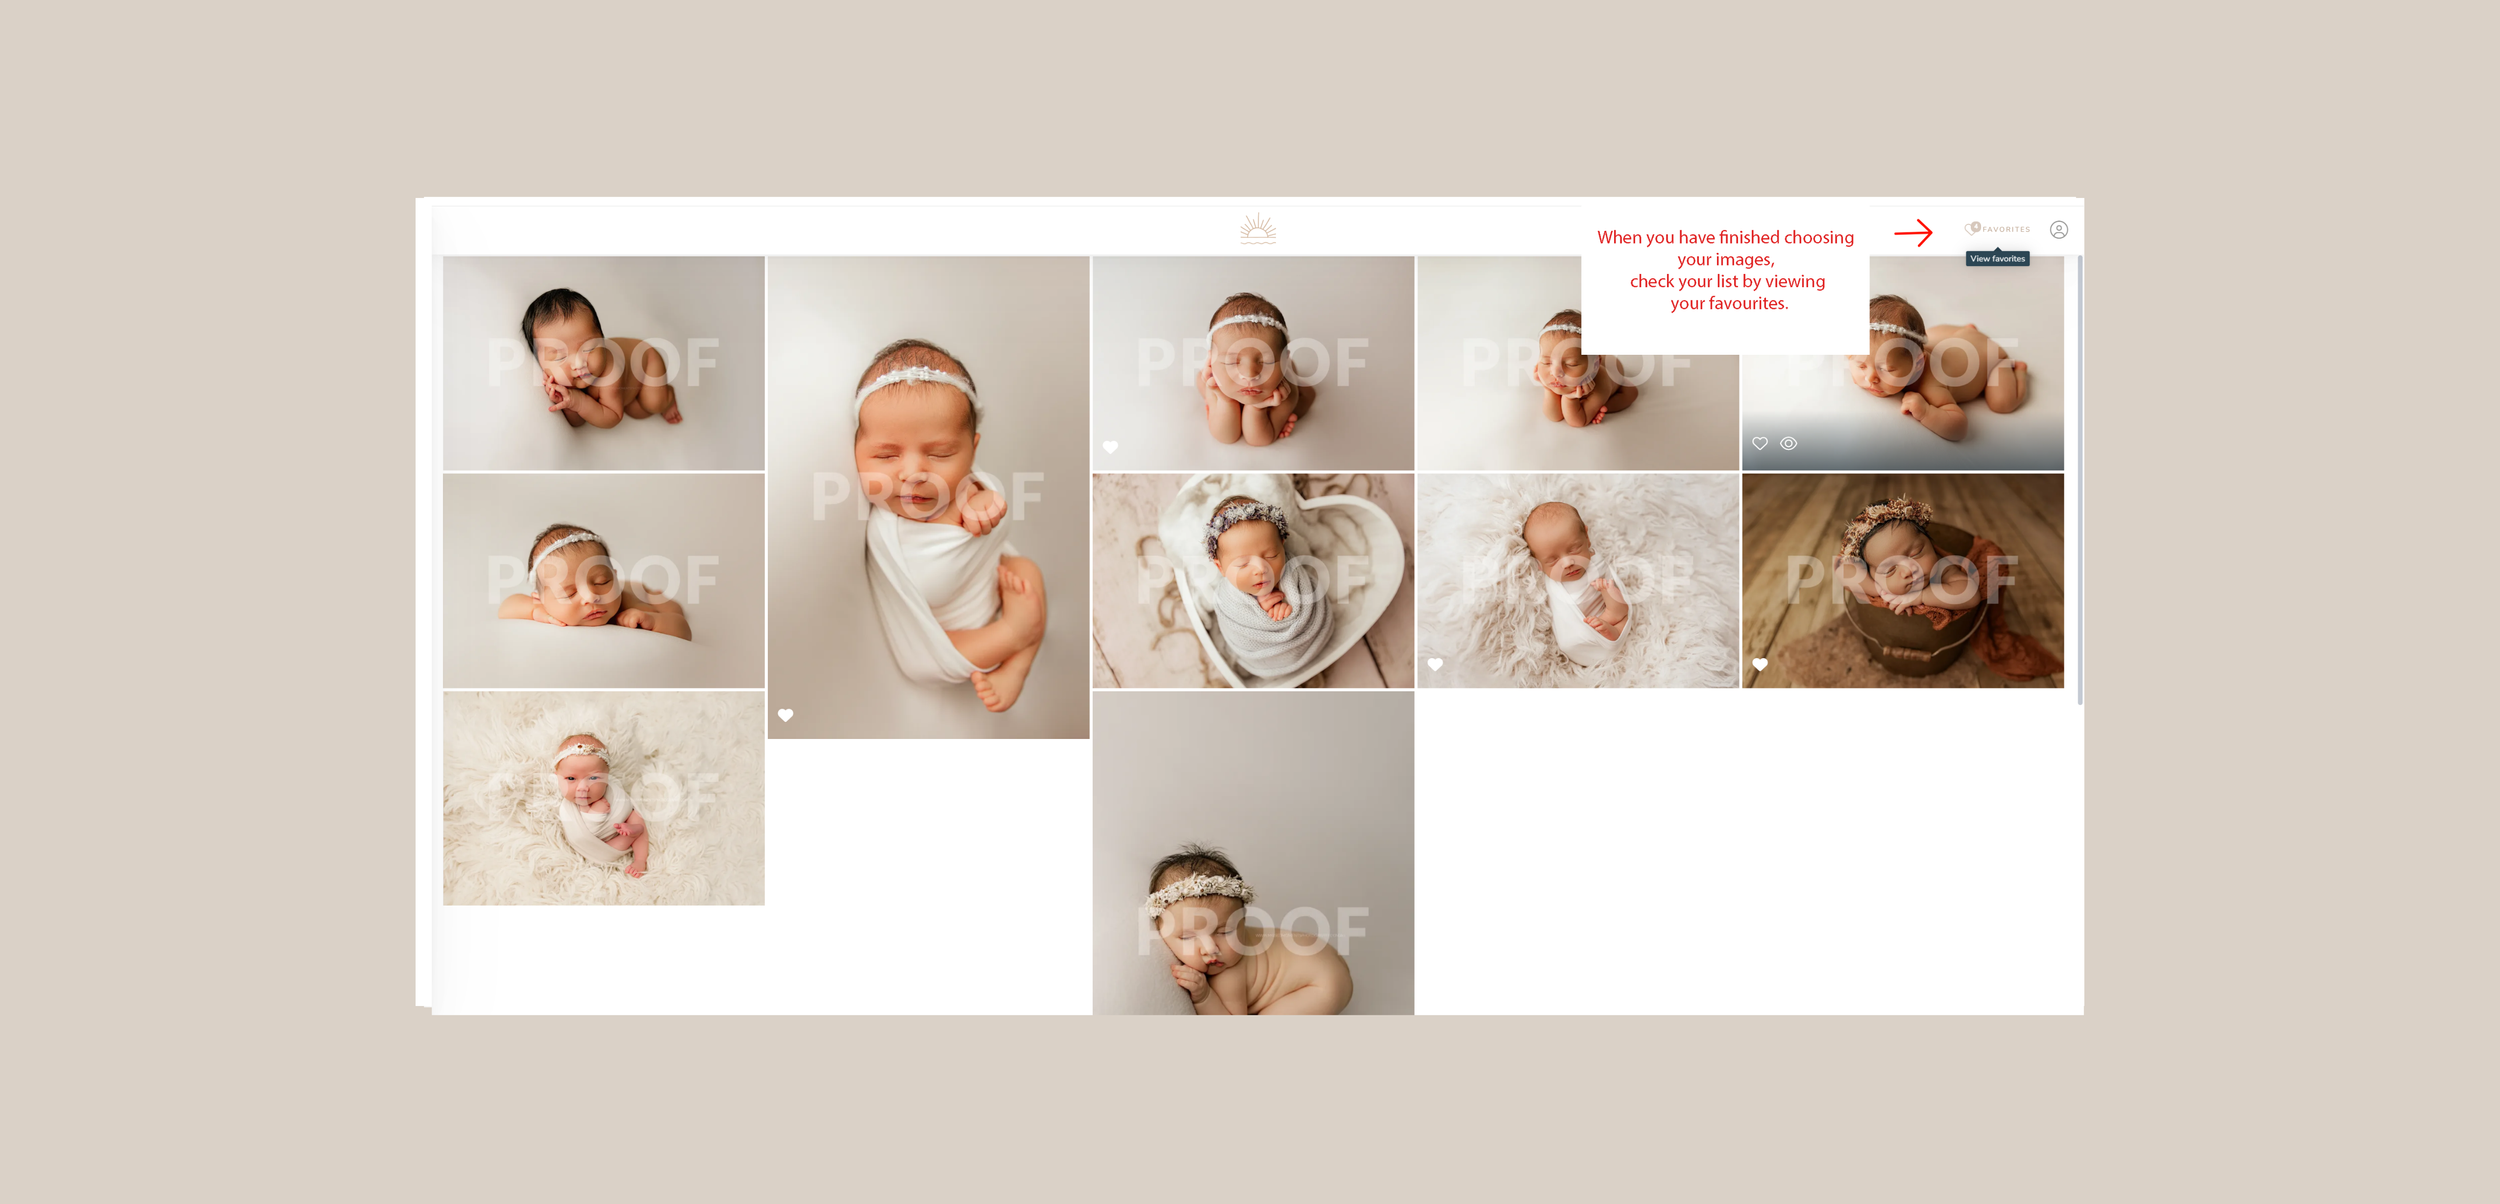
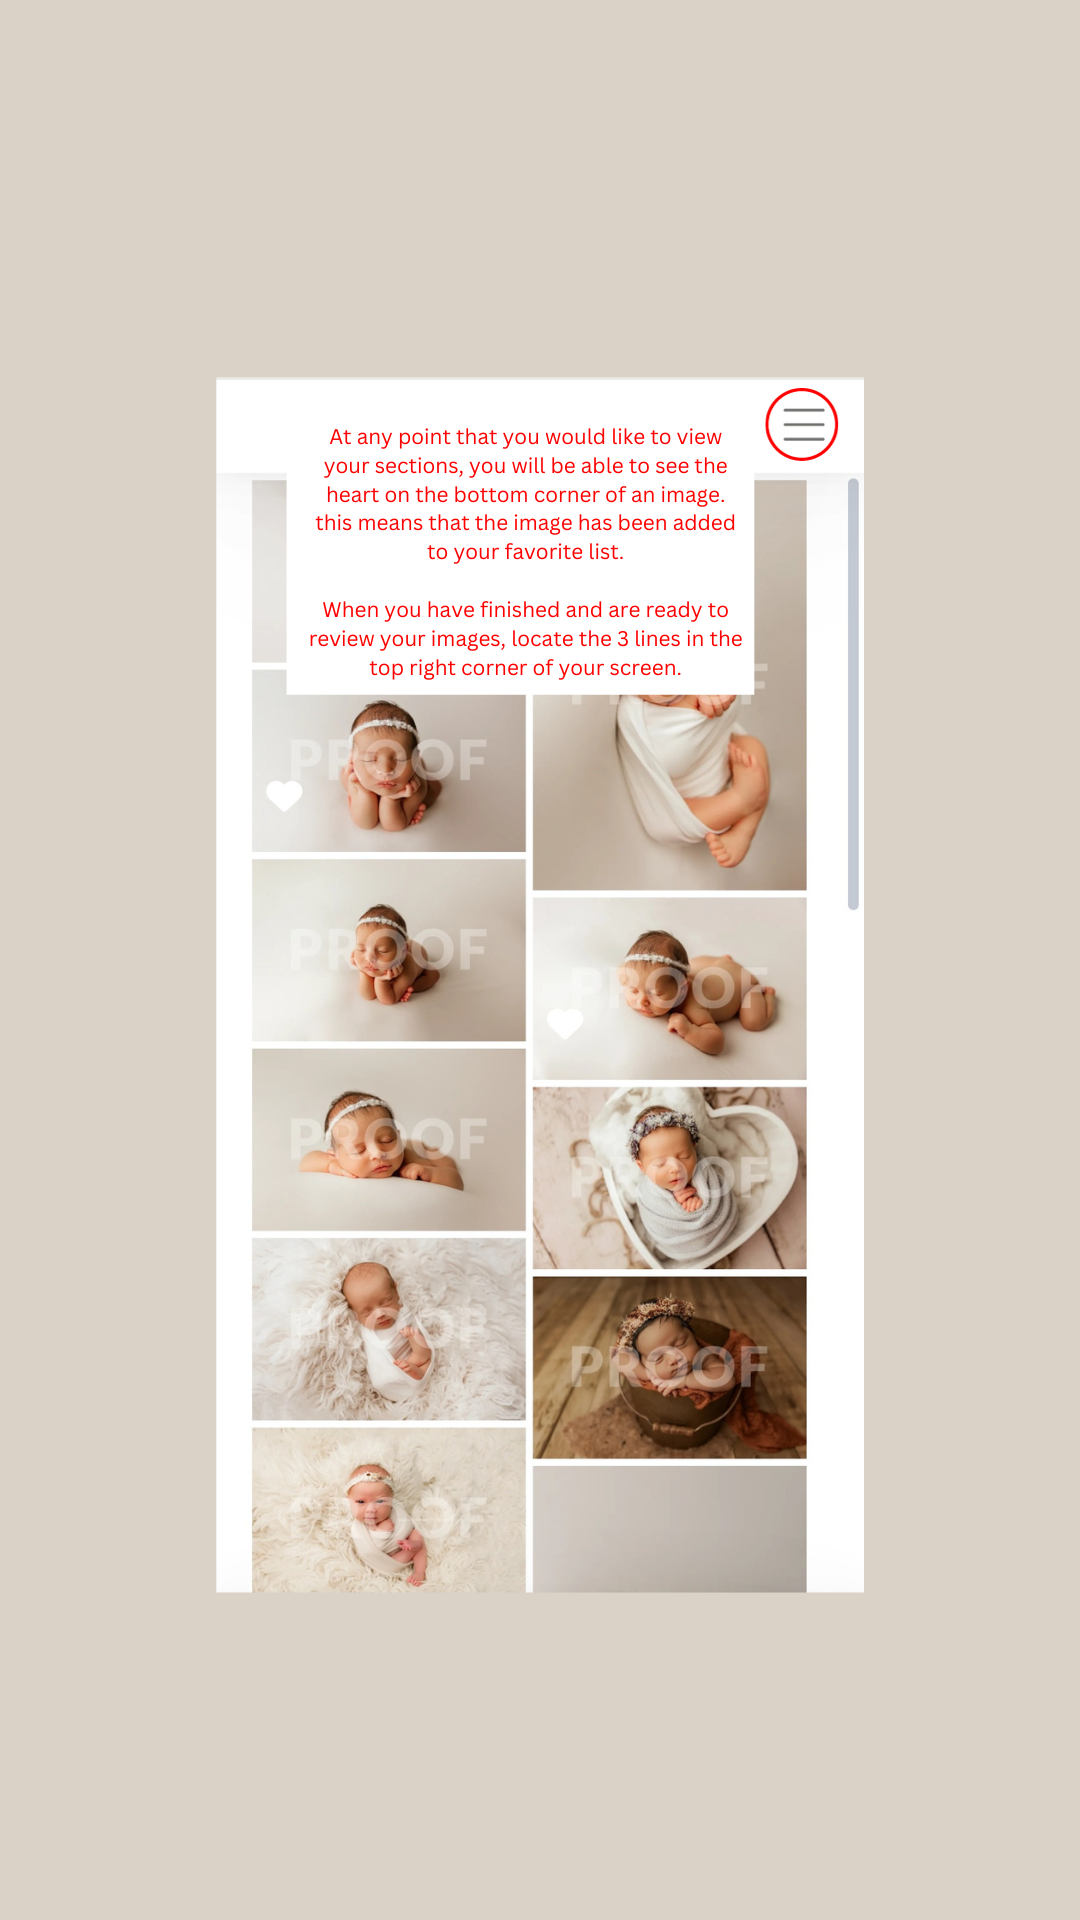
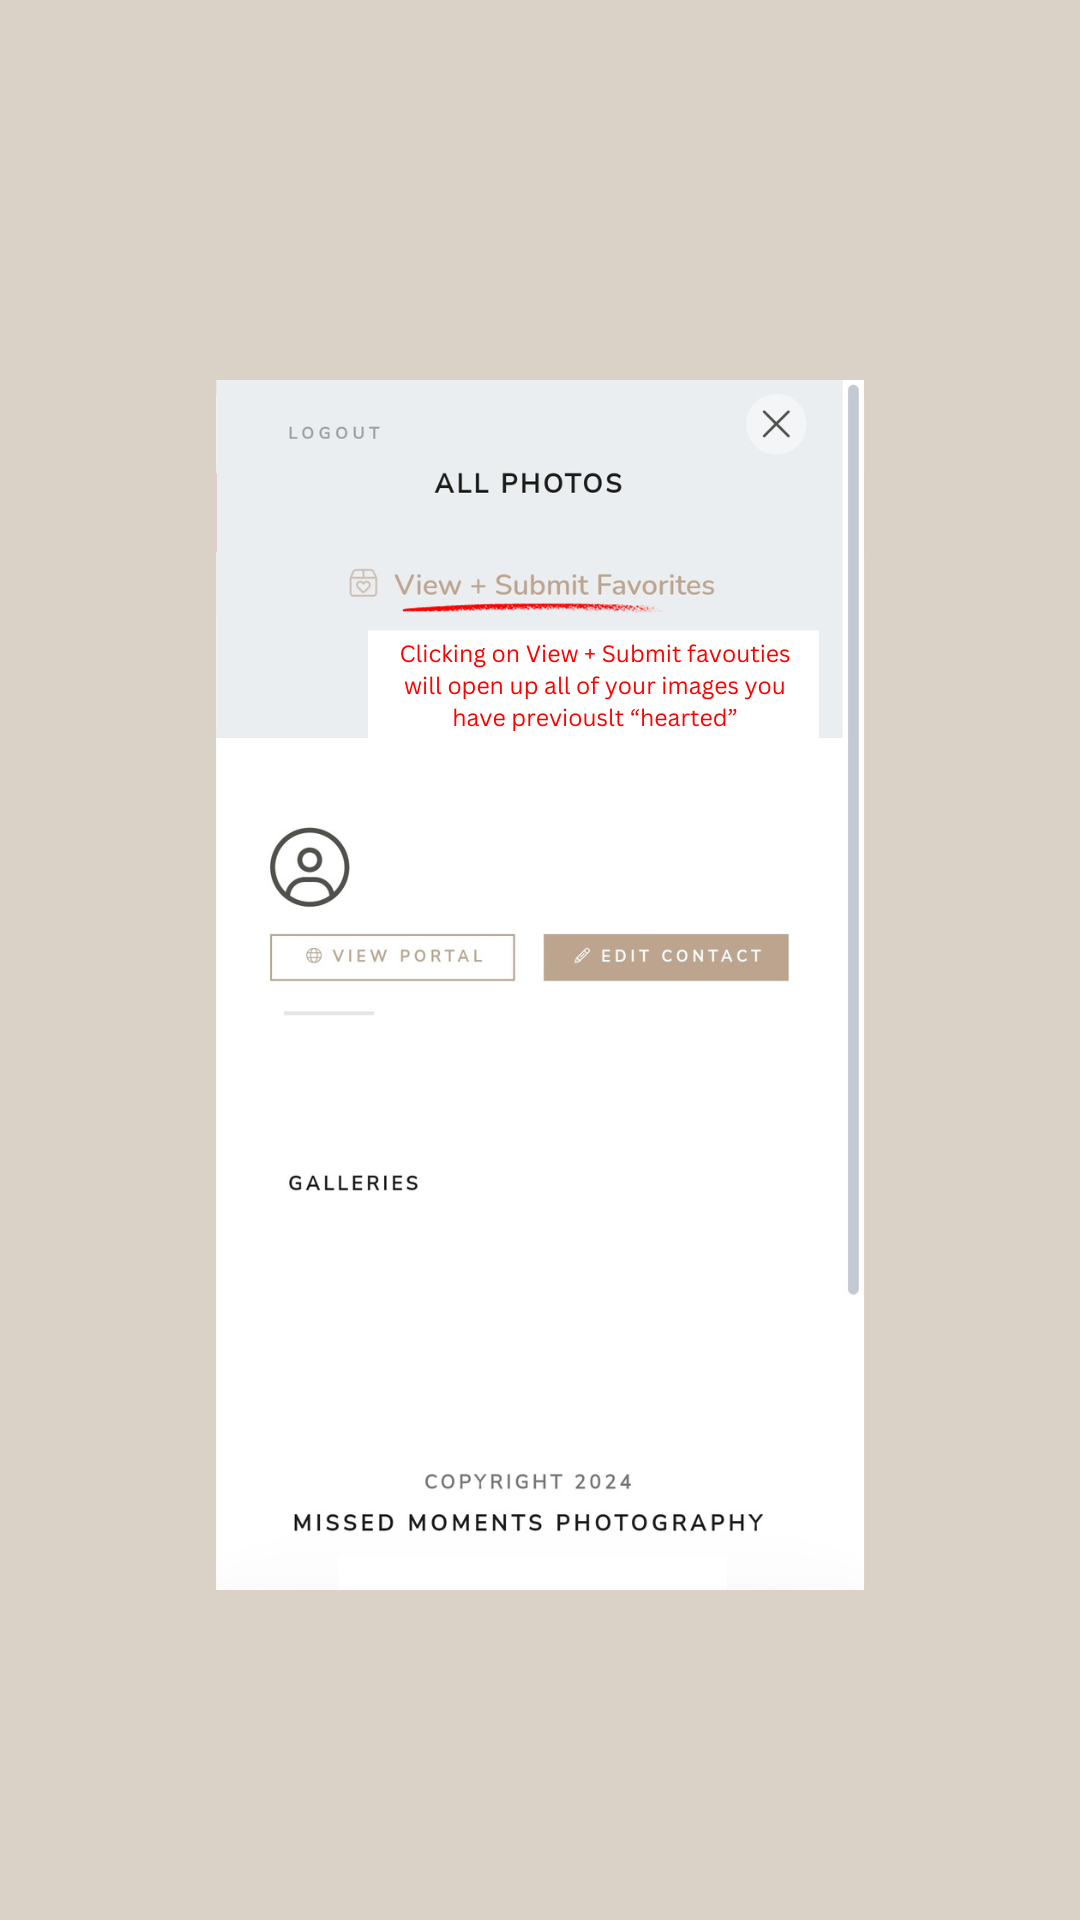
After marking favorites, look for an option to view your selected images collectively. {This will change location depending on if you are viewing on a computer or your phone - refer to the image guides further down}
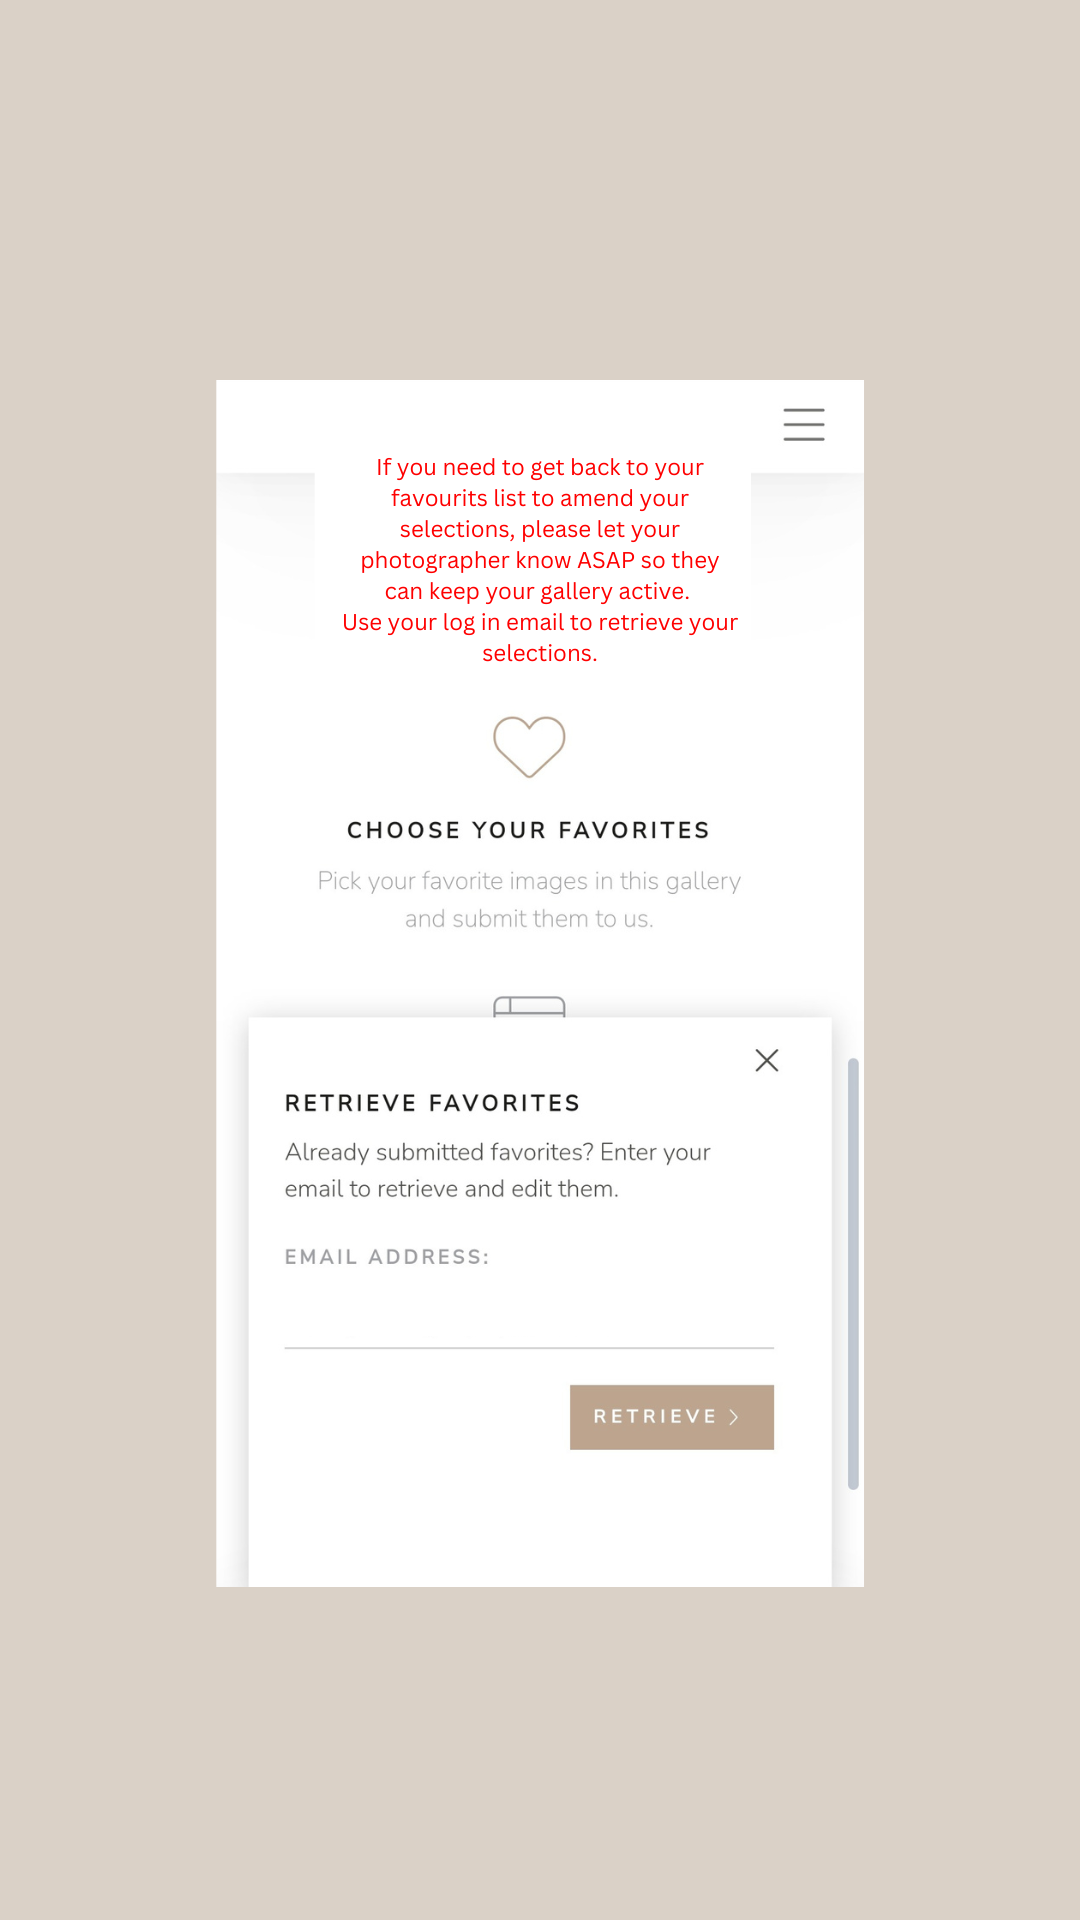
Review and ensure your chosen images reflect your preferences.
-
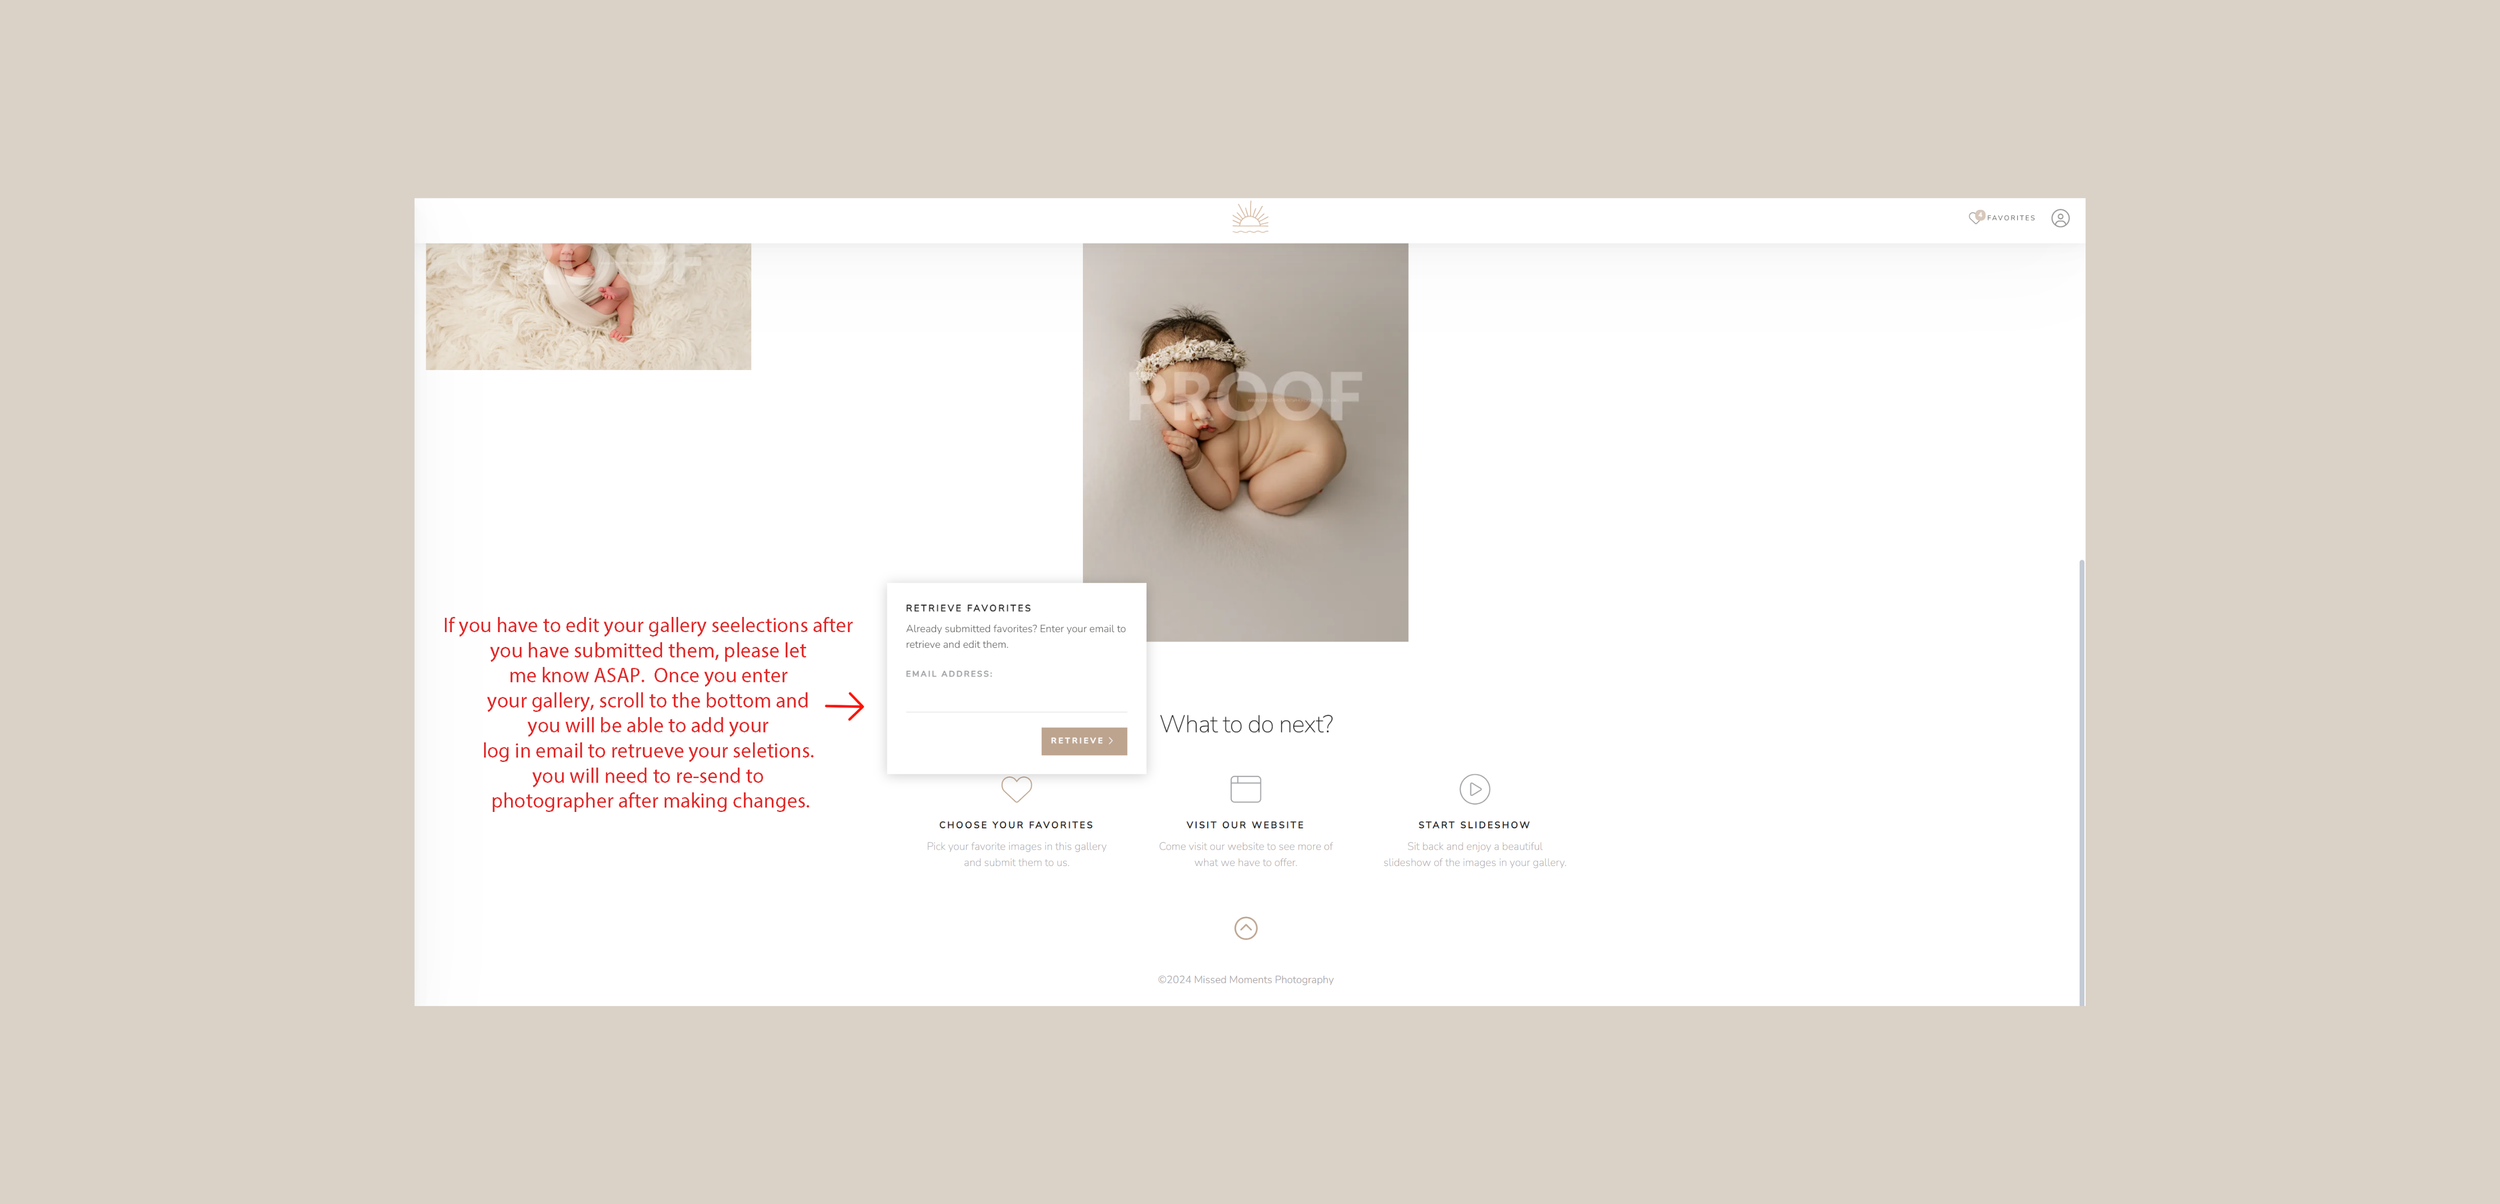
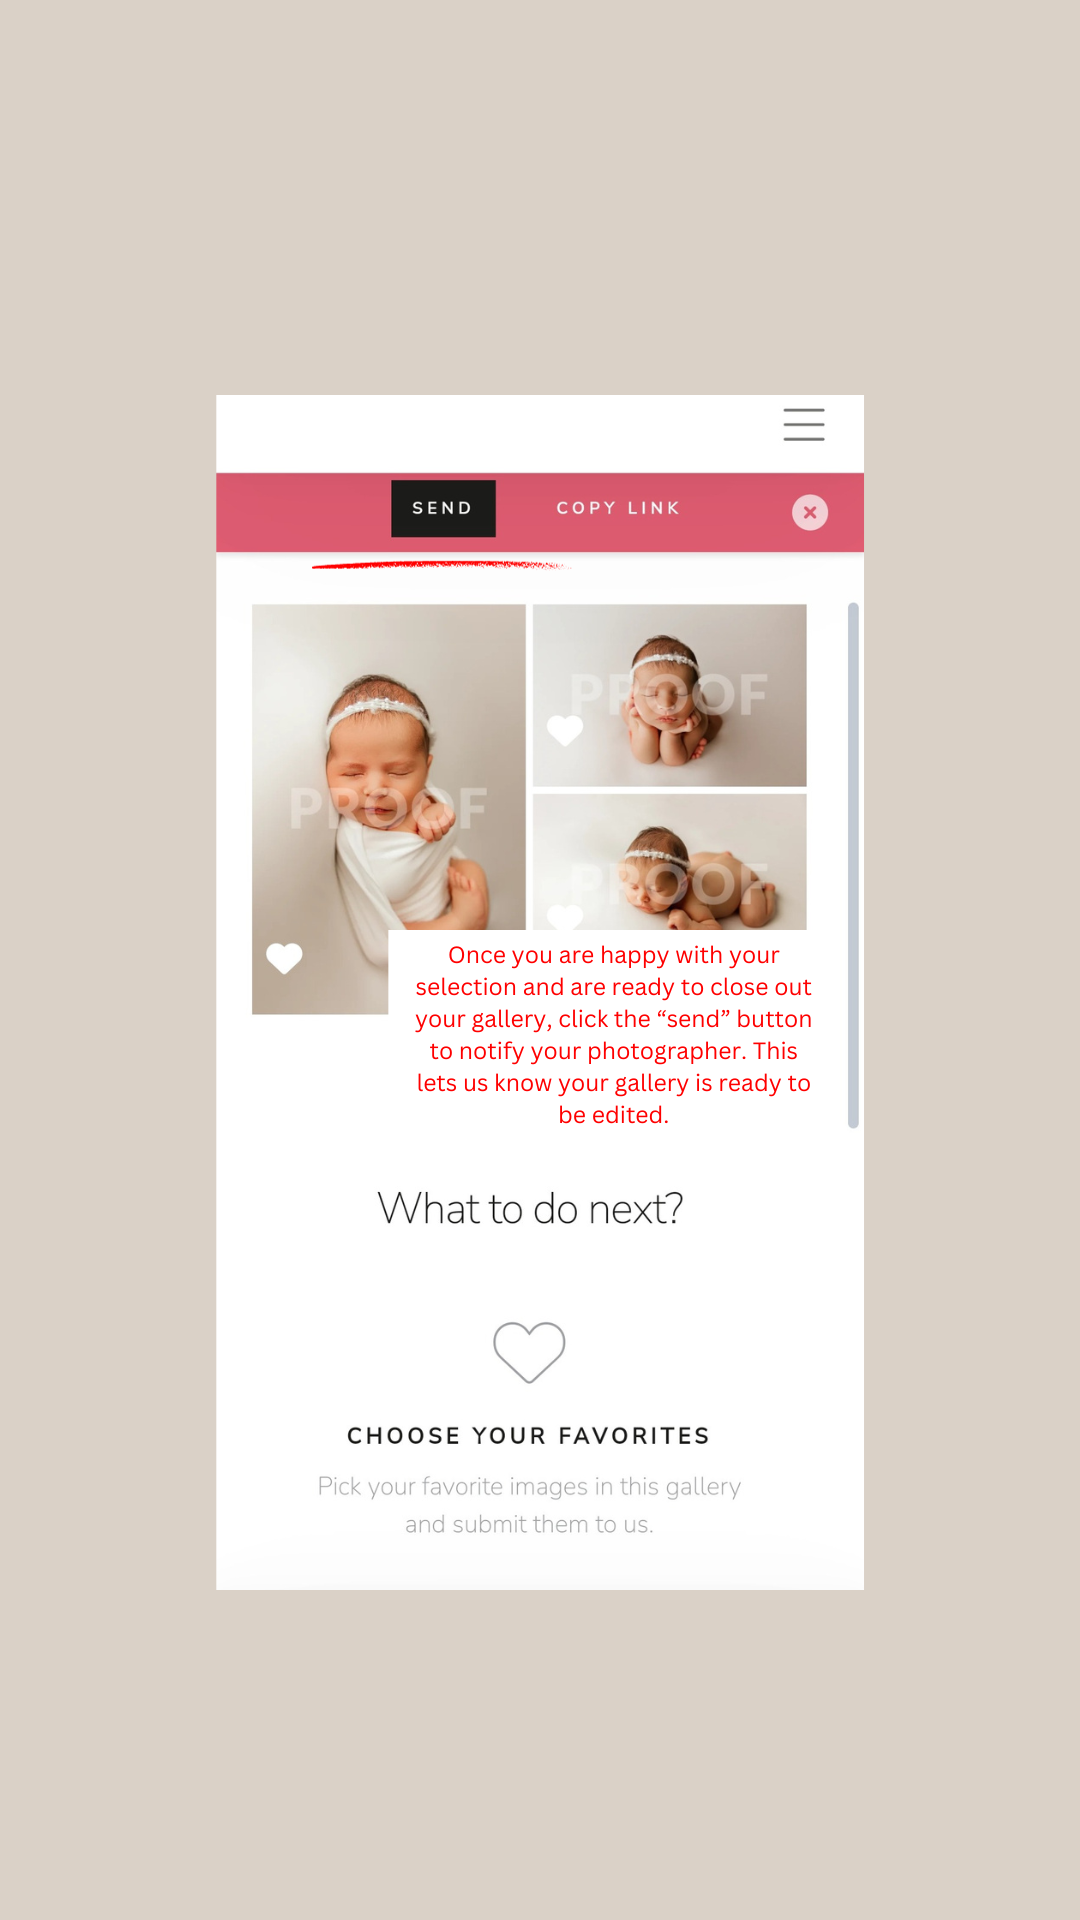
Look for a "Send" or "Send to Photographer" button within the gallery system.
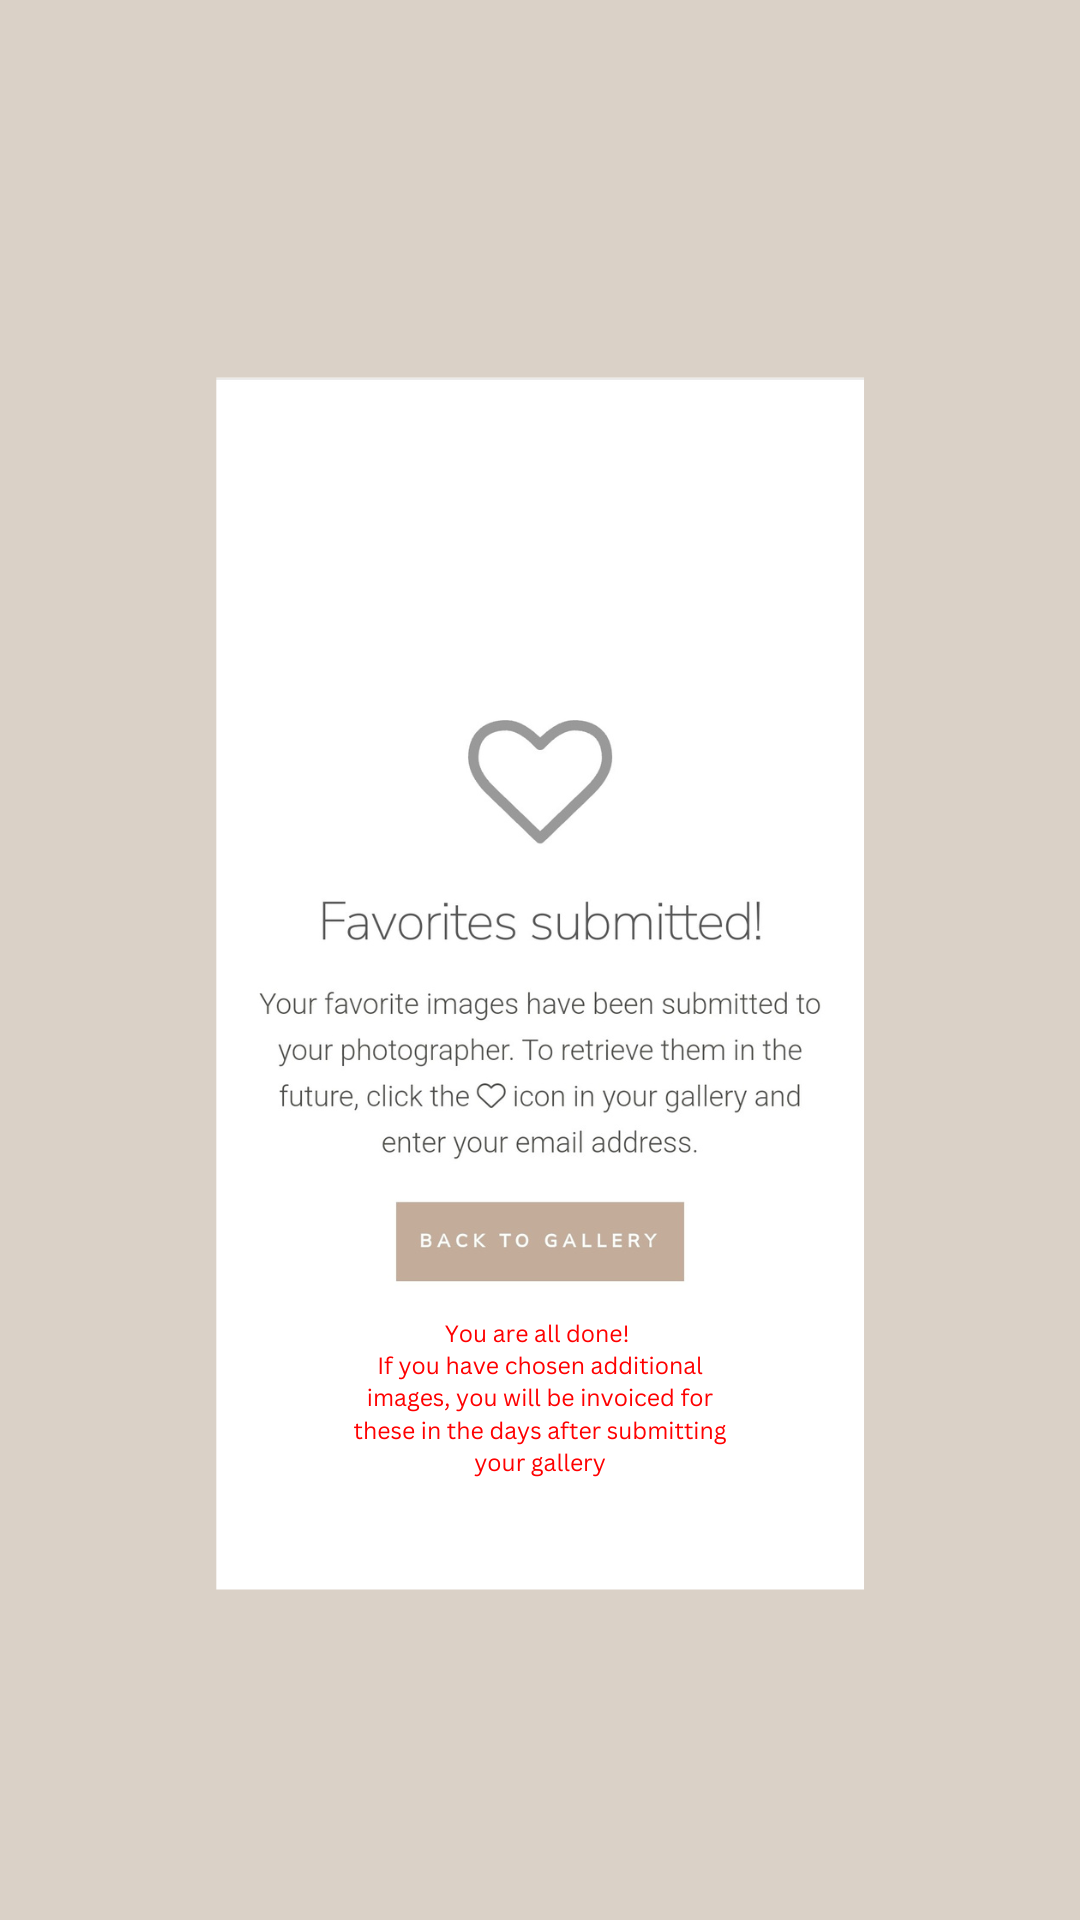
Click on this option to notify your photographer that your selections are ready.
How to select on a PC


How to select on a MOBILE

Congratulations! You have successfully navigated the process of selecting images using Sprout Studio Gallery Systems. This user-friendly platform ensures a smooth and enjoyable experience for both clients and photographers. If you encounter any difficulties or have questions, don't hesitate to reach out to your photographer for assistance.
Happy selecting!